Detailed step-by-step recipe with photos: Step 1
-
Prepare the necessary ingredients for the gelatin-free chicken jellied meat recipe.
For the broth, it is best to use a whole chicken — this will provide the greatest amount of nutrients to obtain a rich and tasty broth. But you can use chicken thighs or drumsticks. These parts also contain a lot of connective tissue, which is ideal for making jellied meat. They will provide a rich broth. It's best to choose chicken with a good amount of fat, as this is what adds flavor and helps with cooking, thickening the broth. Chicken feet are a must! They are a real secret, since they contain the most natural gelatin, which, when cooked, turns into that very dense broth.
-
Step 2
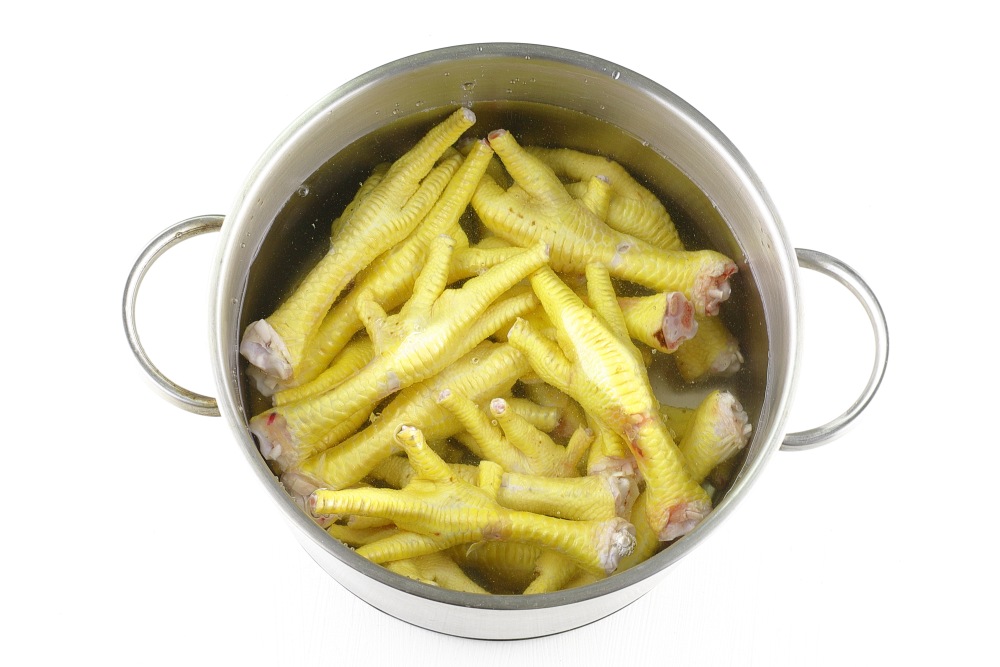
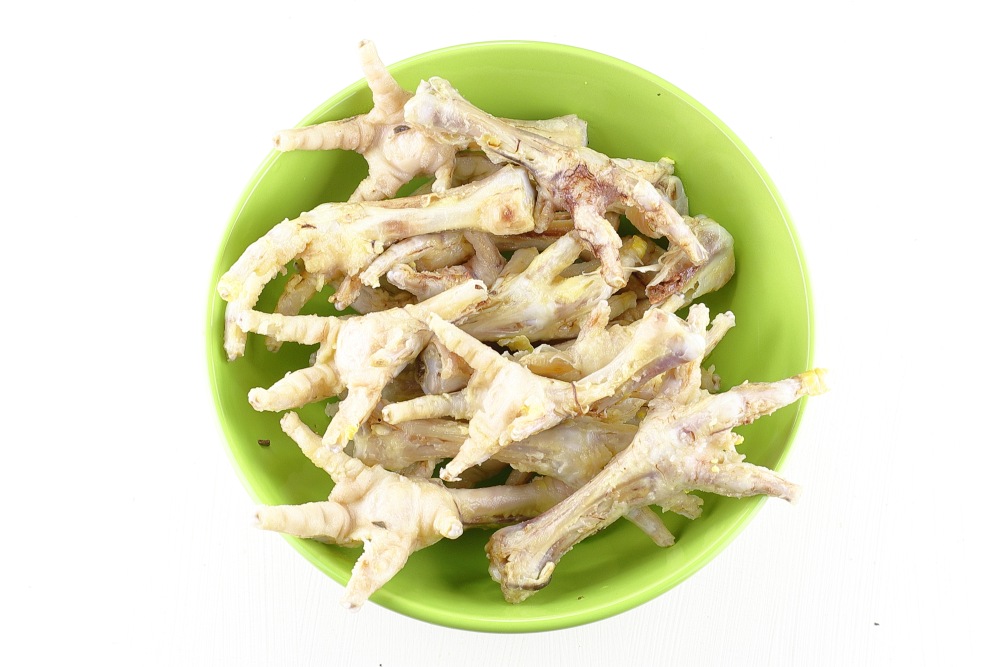
Rinse the chicken feet well. Trim claws. After this, transfer the paws into a cooking pan.
Fill with cold water so that the water covers the paws 2-3 cm above the level. Place over high heat and let it boil. Boil for 2-3 minutes to remove excess impurities and odors. After this, drain the water and rinse the paws under cold water.Watch the master class “HOW TO SPEND NO MORE THAN 1 HOUR A DAY IN THE KITCHEN AND AT THE same time feed everyone tasty and healthy”👉🏻HERE
-
Step 3
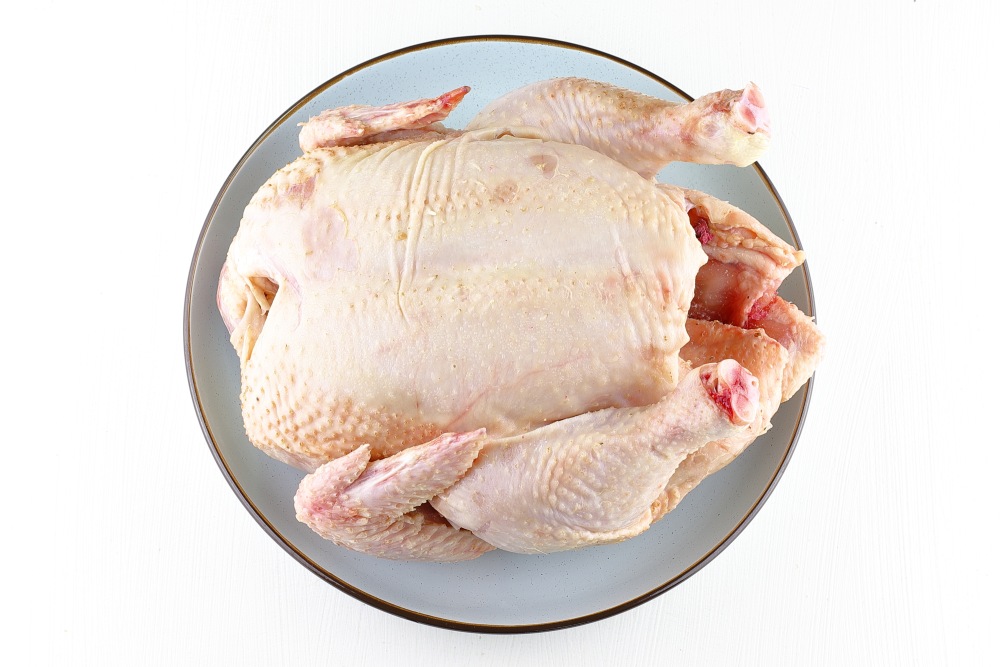
Rinse the chicken carcass well. When the chicken is clean, pat dry with paper towels or kitchen cloth.
-
Step 4
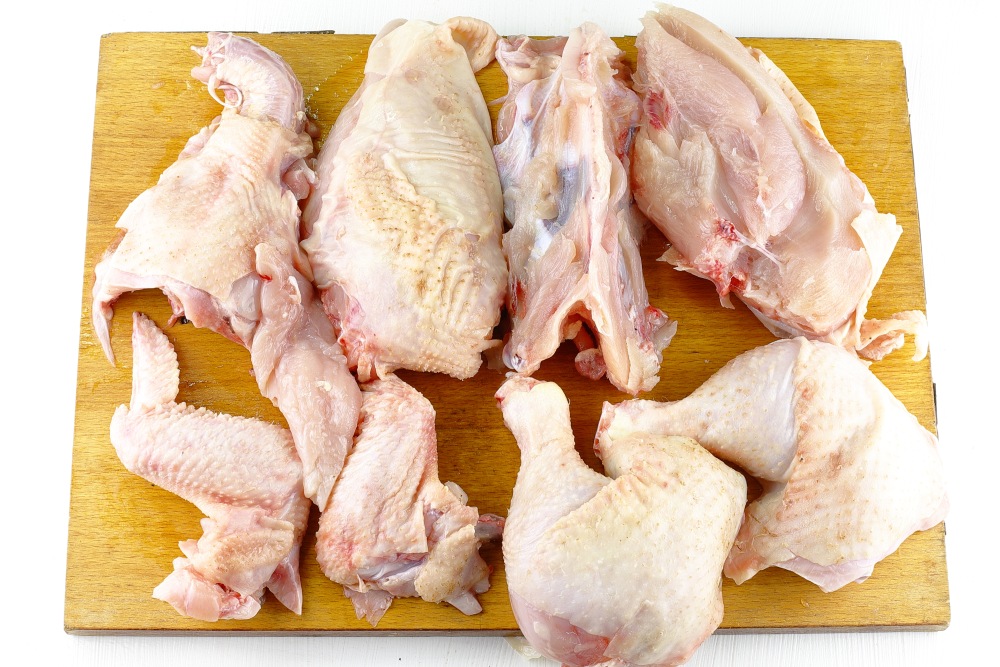
Cut the prepared chicken into portions. To do this, use a sharp knife or kitchen scissors.
The chicken needs to be cut into pieces so that it cooks faster and makes it easier to remove the meat after cooking.
-
Step 5
Rinse paws with cold water. Carefully pry off the skin using a sharp knife. The skin should come off fairly easily as it will become soft during the cooking process.
It is important that the skin is completely removed as it can impart an unpleasant taste to the broth.
-
Step 6
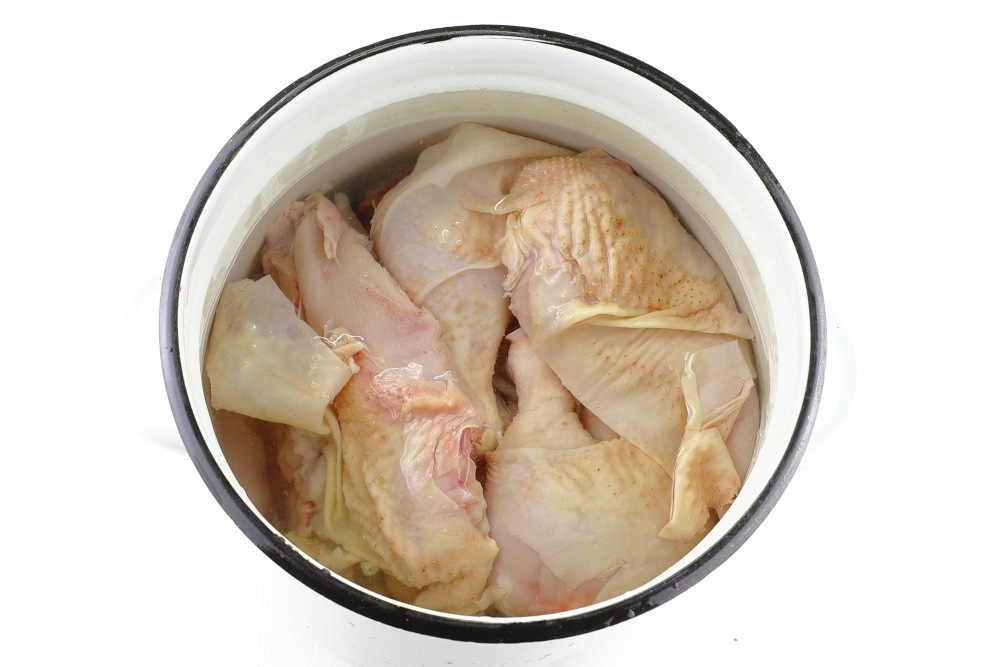
Place the legs and chicken pieces into the pan. Pour in cold water until the meat is covered with liquid. The water should cover the meat by about 1-2 cm. This will ensure there is enough broth without allowing the liquid to boil away too quickly. Send to moderate heat. Bring to a boil.
Choose a suitable pan for cooking, approximately 6-8 liters. This is important so that there is enough space in the pan for all the ingredients and the liquid does not boil away during cooking. If you have a smaller pot, it may be better to use less chicken or legs.
-
Step 7
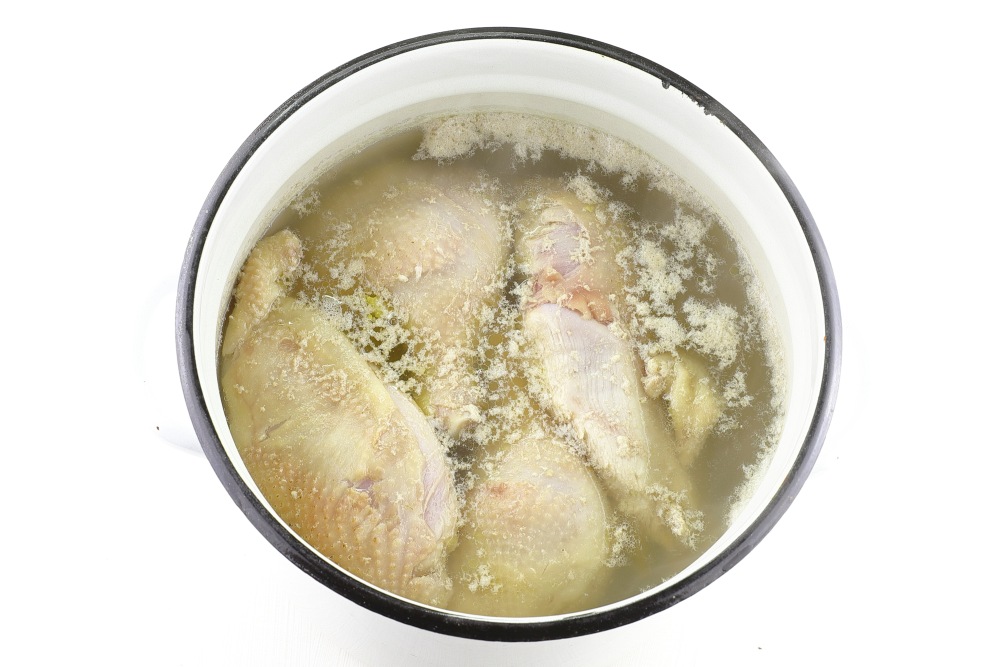
As soon as the water in the pan boils, reduce the heat to low. This is an important step because boiling too hard will make the broth cloudy and the flavor may be less intense. Cook the broth over low heat for 60 minutes. Remove any foam that appears. To do this, use a slotted spoon or spoon.
Carefully remove the foam from the surface of the broth, being careful not to stir the liquid. Repeat this process until foam stops forming. This will keep the broth clean and make it look nicer and clearer.
-
Step 8
At this step, the chicken broth was boiled for 60 minutes on the lowest heat, bubbling slightly. The broth is quite clear.
-
Step 9
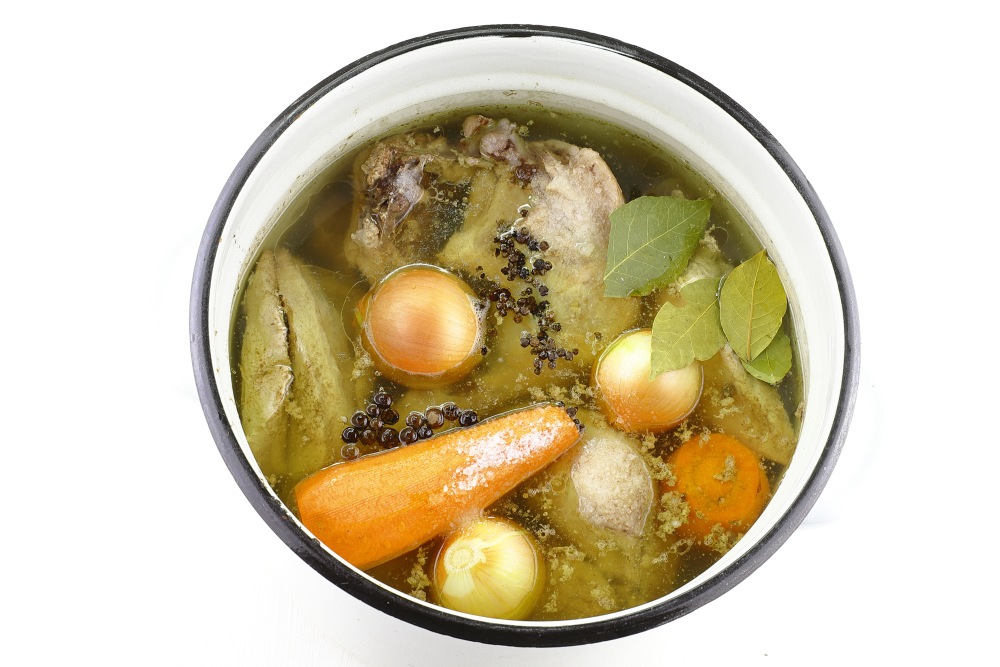
Add washed, unpeeled onions, peeled carrots, black and allspice peppers, bay leaves, and salt to the broth. Cook the chicken jellied meat without gelatin for another 2 hours.
Onions and carrots should be added whole to the broth, as they will add more flavor and richness to the broth.
Adjust the amount of salt to your taste. Start by adding about 1-1.5 teaspoons of salt, then as it cooks you can taste the broth and add salt if needed.
This cooking stage is necessary so that all the ingredients fully release their flavor and the broth becomes even richer.
-
Step 10
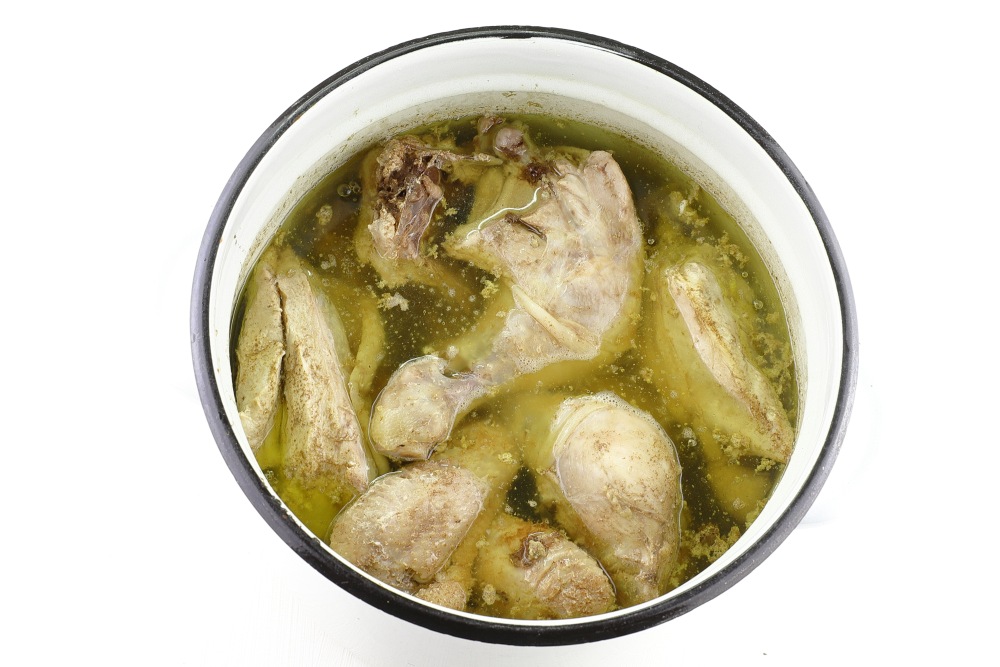
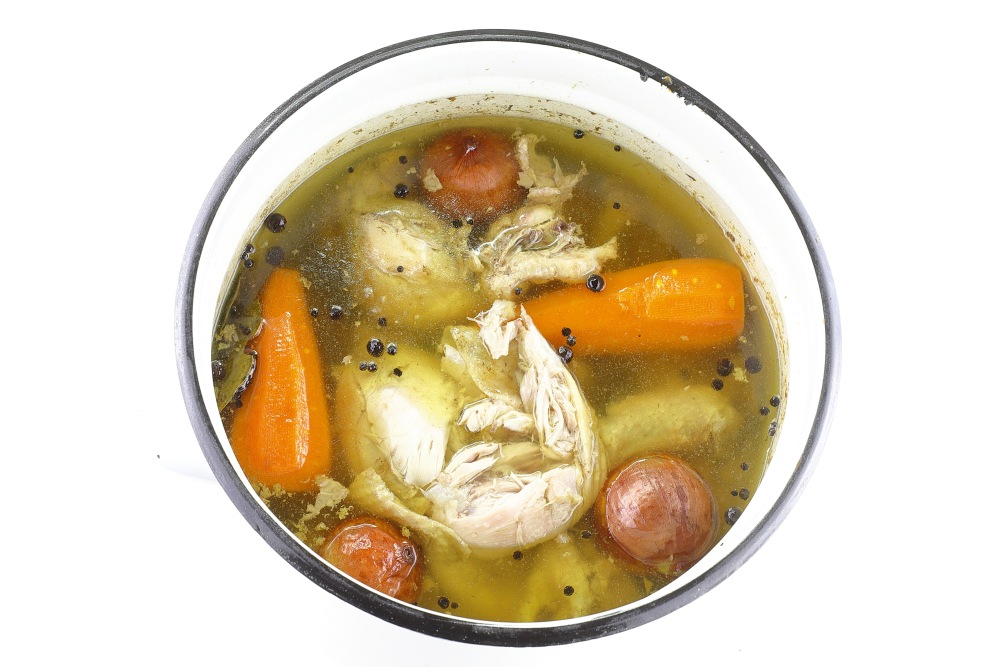
Turn off the heat when the meat easily pulls away from the bone.
When the meat becomes so soft that it literally falls off the bones when touched lightly, the broth is ready. The meat should be tender and the broth rich and clear. If the meat is still a bit tough, continue cooking over low heat, checking every 20-30 minutes until the desired texture is achieved.
-
Step 11
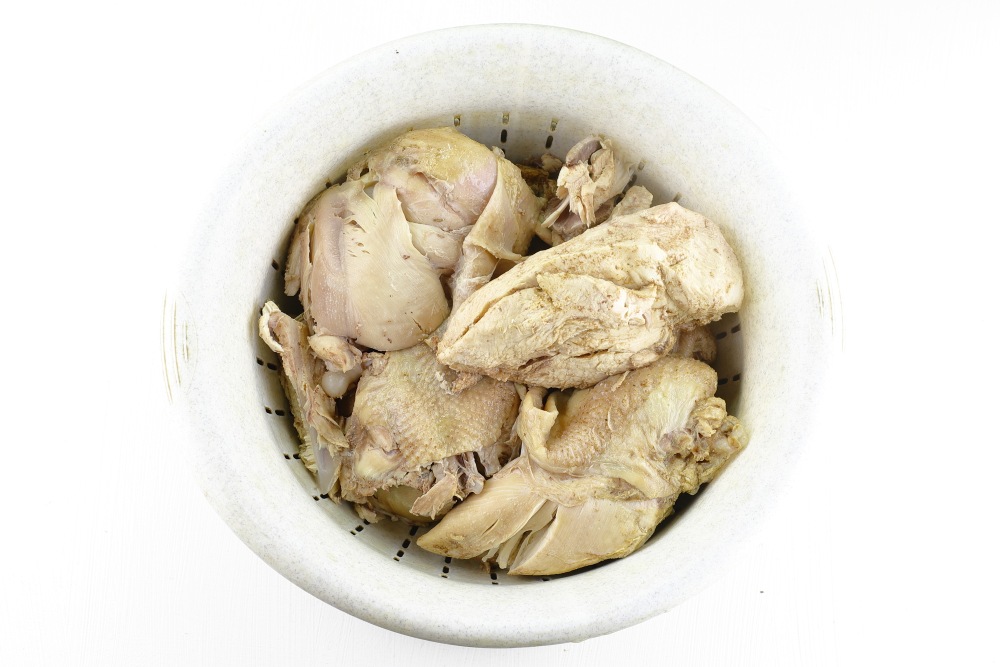
Carefully remove the chicken from the pan and place it in a sieve or on a large plate. After the meat has cooled to a comfortable temperature, separate the meat from the bones. Carefully remove all bones and cartilage, leaving only soft meat to be used in jellied meat.
-
Step 12
The onions and carrots have already released all their aromas and taste into the broth, so they can be removed. Strain through a sieve to remove all the spices and cooked parts of the paws.
It is best to use a fine mesh sieve or several layers of cheesecloth to ensure maximum purity of the broth.
Carrots can be saved if you want to add them to the jellied meat itself for beauty, but onions, as a rule, are not used.

-
Step 13
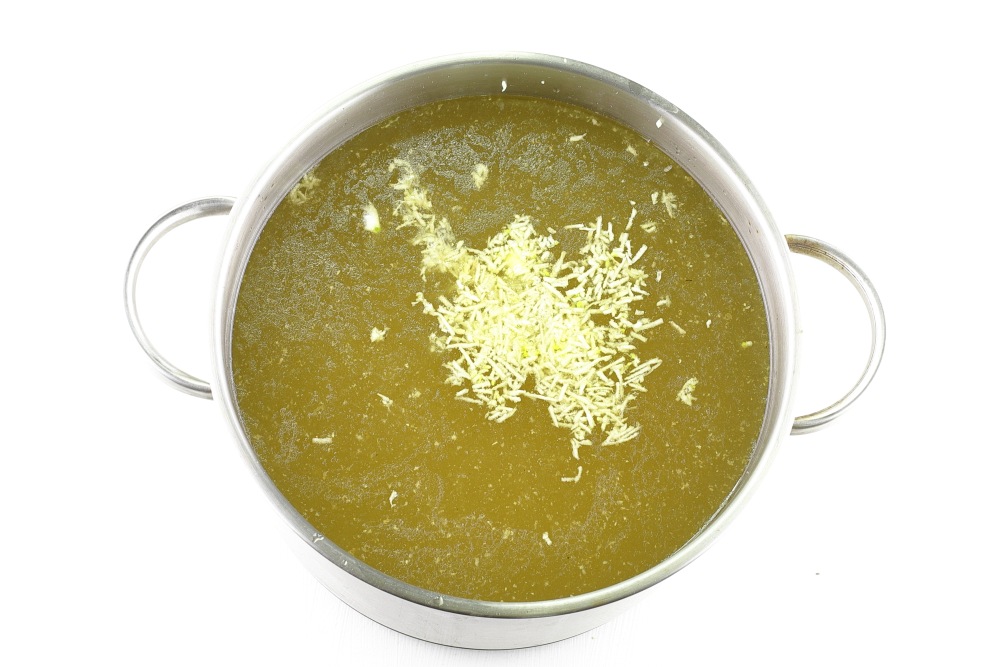
Remove the skins from the garlic cloves. Grate on the finest side of a grater or use a garlic press. Add it to the broth. Mix well so that the garlic flavor is evenly distributed throughout the liquid. Add desired spices if necessary. Let the broth sit for 15-20 minutes. Afterwards, strain to remove the garlic pulp.
-
Step 14
Choose a suitable container in which the jellied meat will freeze comfortably. Both deep plates and freezer containers are suitable (if you want to freeze jellied meat for the future).
Make sure the cookware you choose is temperature-resistant and fits easily in the refrigerator or freezer.
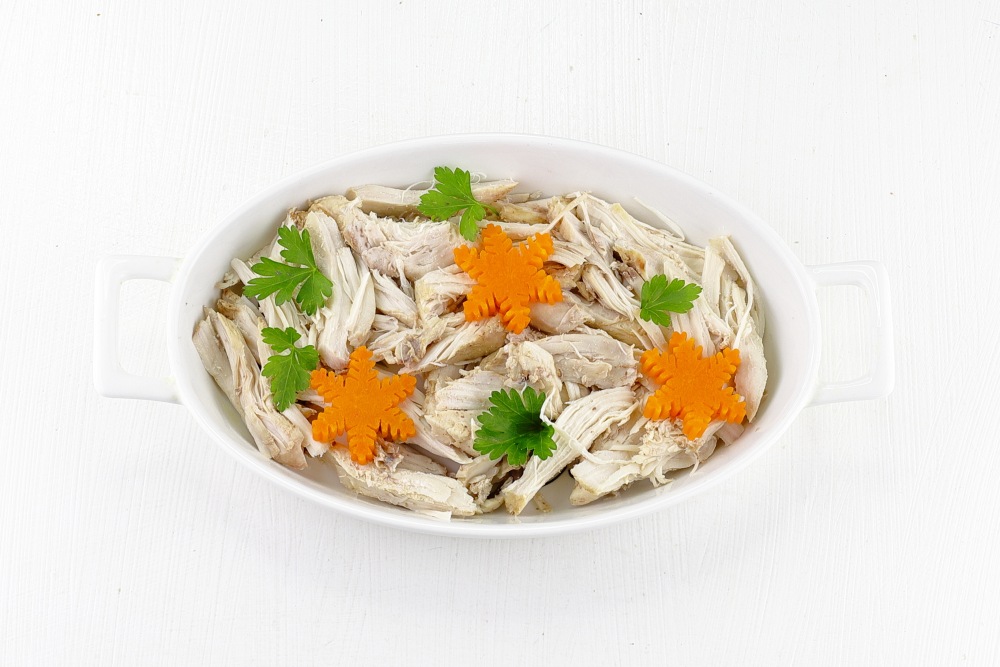
Take the pre-prepared meat and distribute it evenly among plates or containers. The meat can be laid out in one layer or compacted a little, depending on how dense you want the jellied meat to be.

-
Step 15
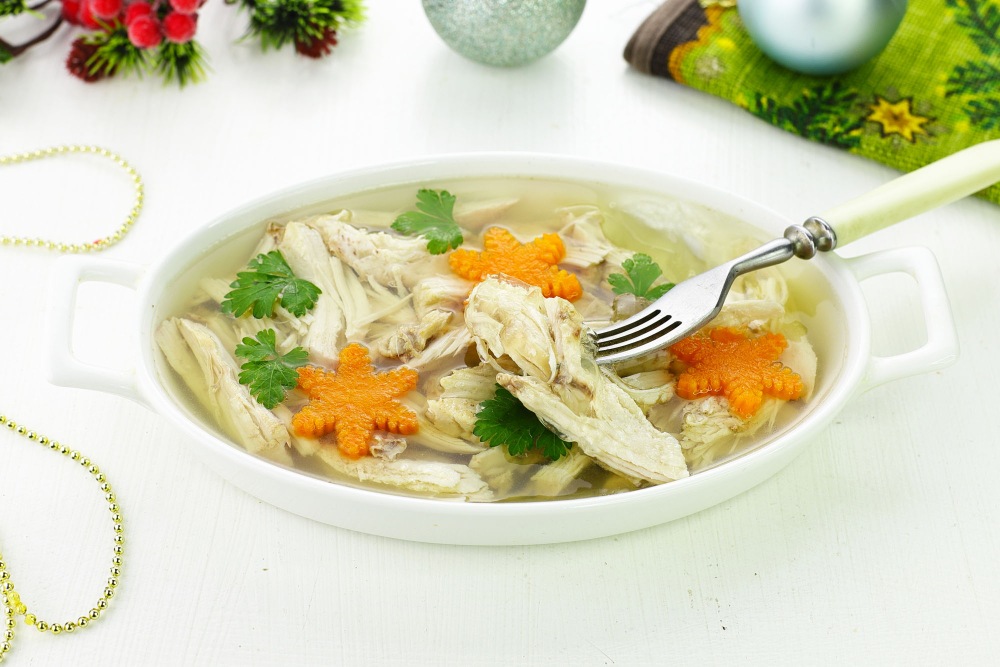
If desired, the jellied meat can be decorated with boiled carrots and herbs. Decoration will give the jellied meat not only an aesthetic appearance, but will also add additional flavor accents.
I cut out snowflakes from boiled carrots using a cookie cutter or just a sharp knife to create beautiful and neat designs. Snowflakes will give jellied meat a special New Year's atmosphere.
And for greens I used parsley leaves. Parsley is a great choice for garnishing as its bright green leaves add freshness and contrast. Carefully place a few parsley leaves on the surface of the jellied meat. You can add it on the sides or in the center, depending on the effect you want to achieve.
-
Step 16
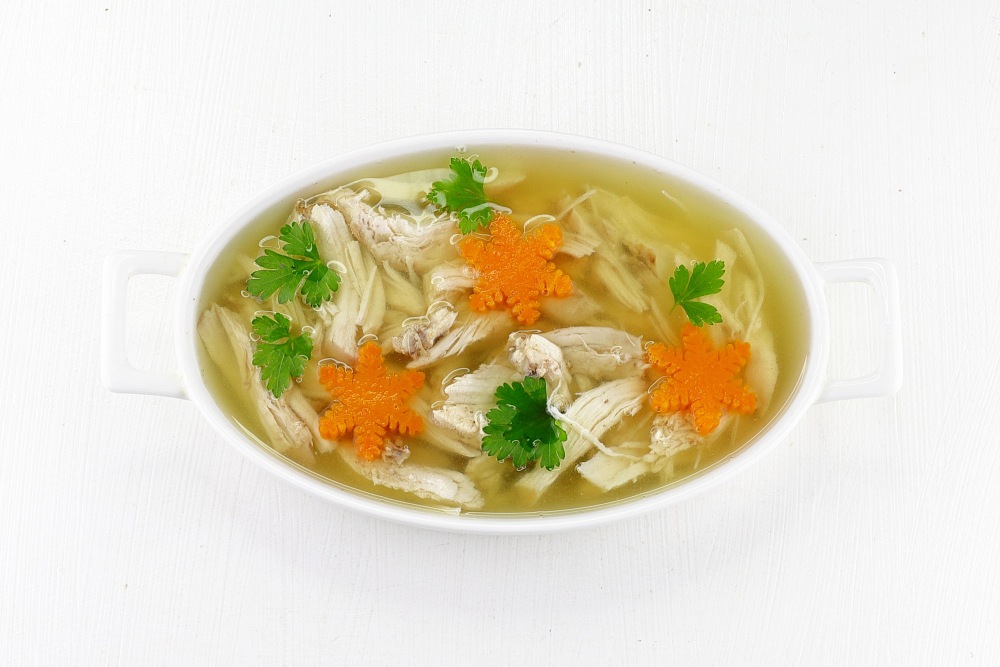
Carefully pour the hot broth into bowls or containers until it covers the meat and garnishes. Cool to room temperature and place in the refrigerator until completely set. This will take at least 6-8 hours, but it is better to leave it overnight so that it has time to completely harden and become jelly-like.
-
Step 17
I prepare jellied meat in advance and store it in the freezer. This is a great way to prepare for the holiday table or just prepare a delicious dish in advance that you can pull out as needed. To do this, I place the completely frozen jellied meat in a container with a tight-fitting lid. I put it in the freezer. Before serving, you need to remove it from the freezer and leave it in the refrigerator for several hours to naturally defrost. This will provide the perfect texture, and the jellied meat will again be as tasty as immediately after cooking.

-
Step 18
Chicken jellied meat without gelatin is ready.
Bon appetit!📌 For other proven recipes for SNACKS FOR THE NEW YEAR, SEE 👉🏻 HERE