Detailed step-by-step recipe with photos: Step 1
-
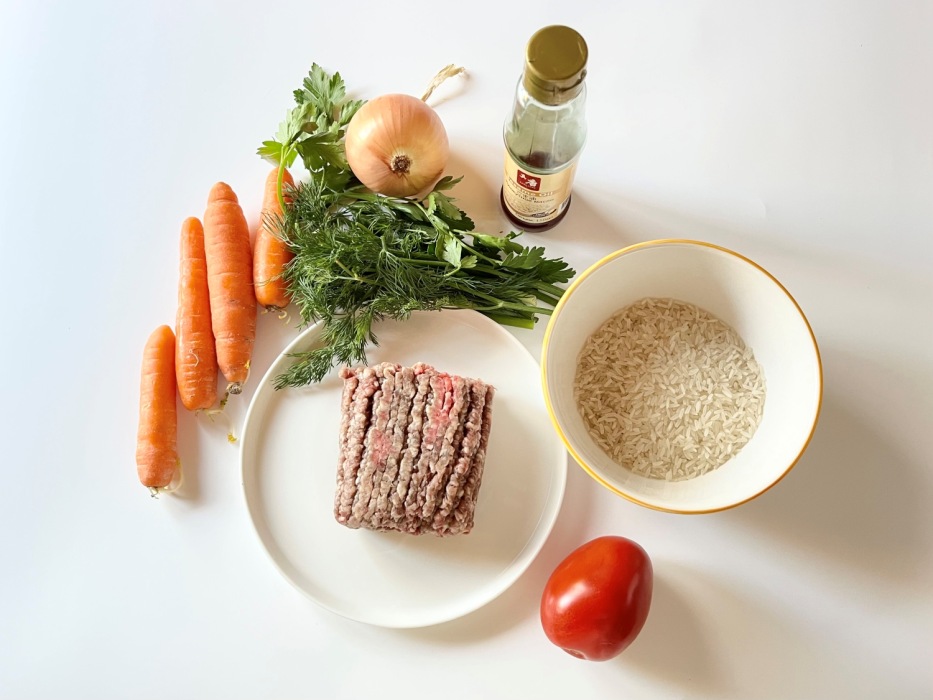
Prepare all ingredients. Thaw the minced meat well beforehand. It is advisable to transfer it from the freezer to the refrigerator overnight, or defrost it a few hours at room temperature. When defrosting in the microwave, in my opinion, the minced meat loses its quality and texture; this method is not desirable.
Wash the onion, carrots and tomatoes and dry. Rinse the rice with cold running water 3-5 times until the water becomes clear. This will wash off the starch that glues the grains together, and our rice will turn out crumbly.
Which rice is better to choose for pilaf, porridge, rolls, salads, kutya and kharcho?
-
Step 2
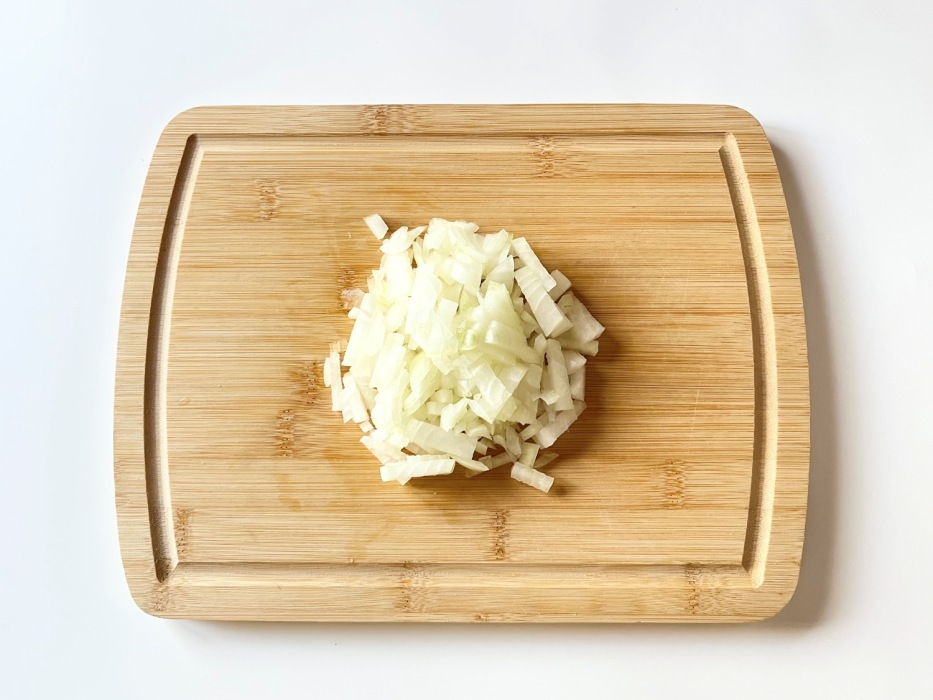
Peel the onion and cut into medium cubes. If your eyes are very watery, you can periodically wet the knife with cold water. Red onions will also work in this recipe, but onions are preferable.
Watch the master class “HOW TO SPEND NO MORE THAN 1 HOUR A DAY IN THE KITCHEN AND AT THE same time feed everyone tasty and healthy”👉🏻HERE
-
Step 3
Peel the carrots. Grate on a coarse grater.

-
Step 4
Cut the tomato into medium cubes.
The peel will not be felt in the dish, but if you still want to remove it, you can do this: make two shallow cuts in the shape of a cross on top of the tomato, put the tomato in a deep bowl and pour boiling water over 1/3 of the tomato, cover with a lid and hold for 5 minutes. The peel will steam and become easy to remove.

-
Step 5
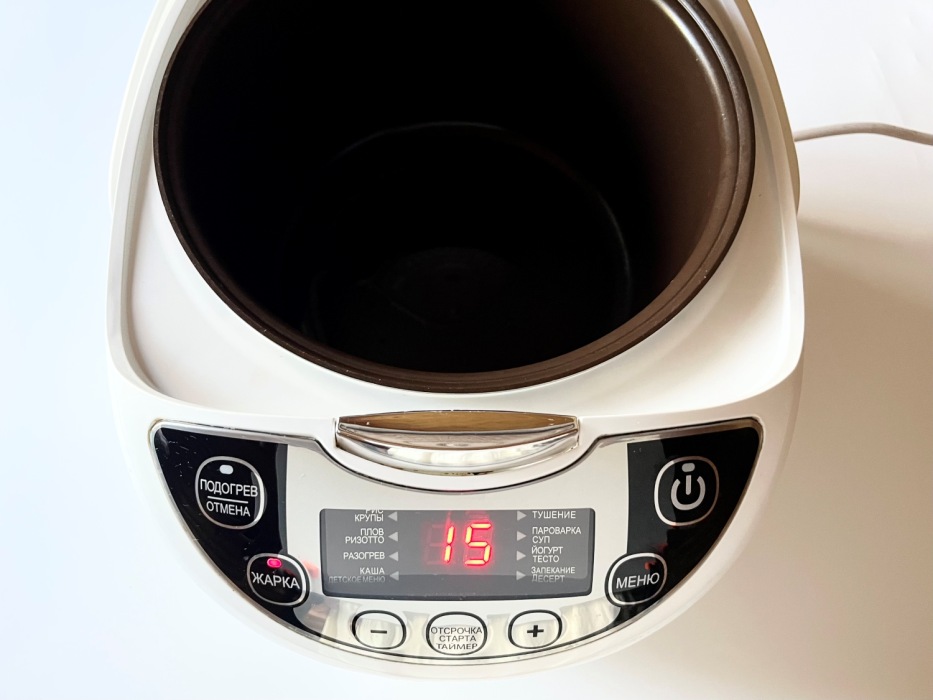
Connect the multicooker. We will cook minced meat and vegetables using the “frying” function. Press the button, pour in the oil and wait for the mold to warm up.
-
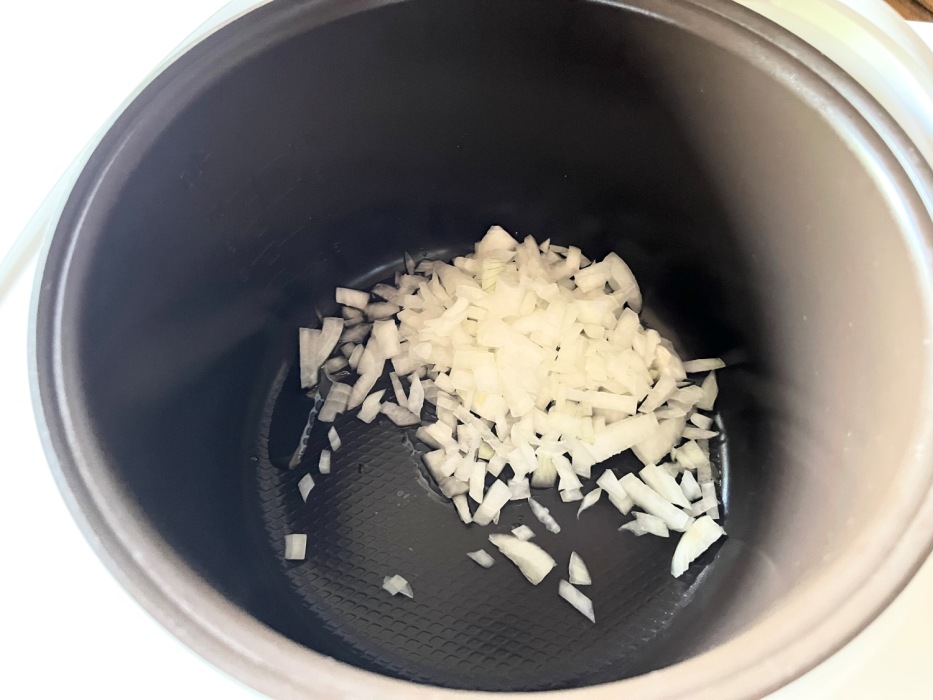
Step 6
Send the onions to fry. Fry the onion until golden brown, stirring occasionally, without closing the lid. It takes 2-4 minutes to fry the onions (depending on your multicooker).
-
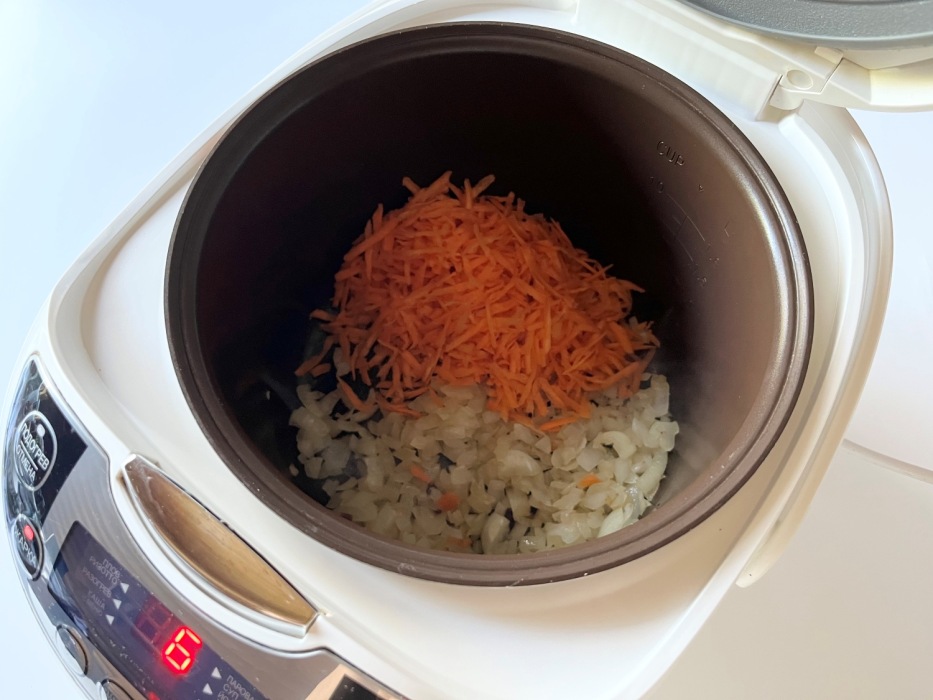
Step 7
Add carrots to the onions. Stir and fry for about 3 minutes.
If you want to add garlic to the dish, you can do so at this stage. The same goes with bell peppers; you need to fry them before adding the minced meat.
-
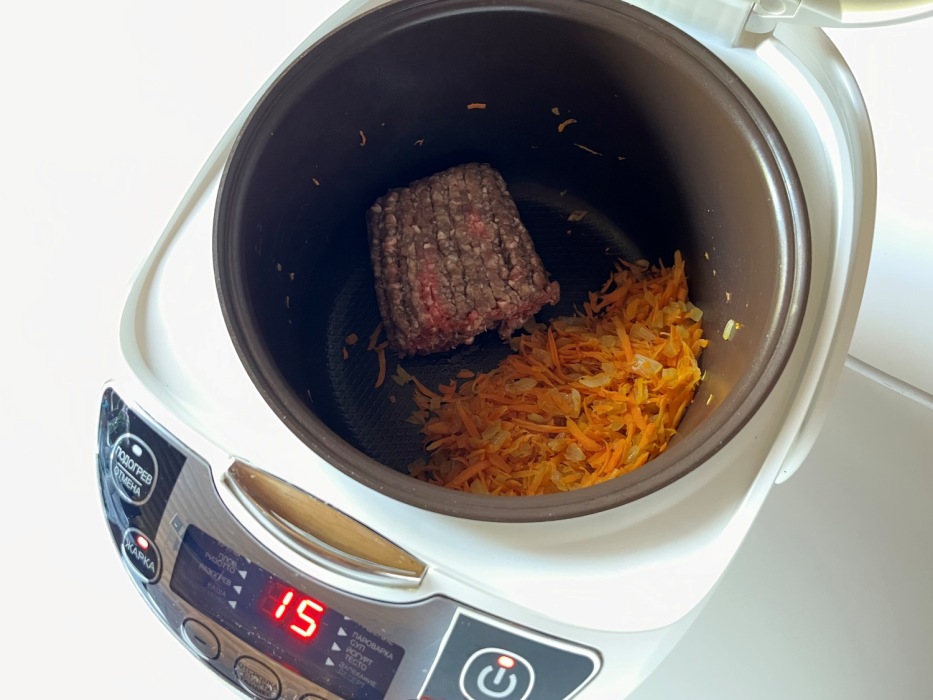
Step 8
Push the onions and carrots a little to the edge of the pan. Send minced meat for frying.
-
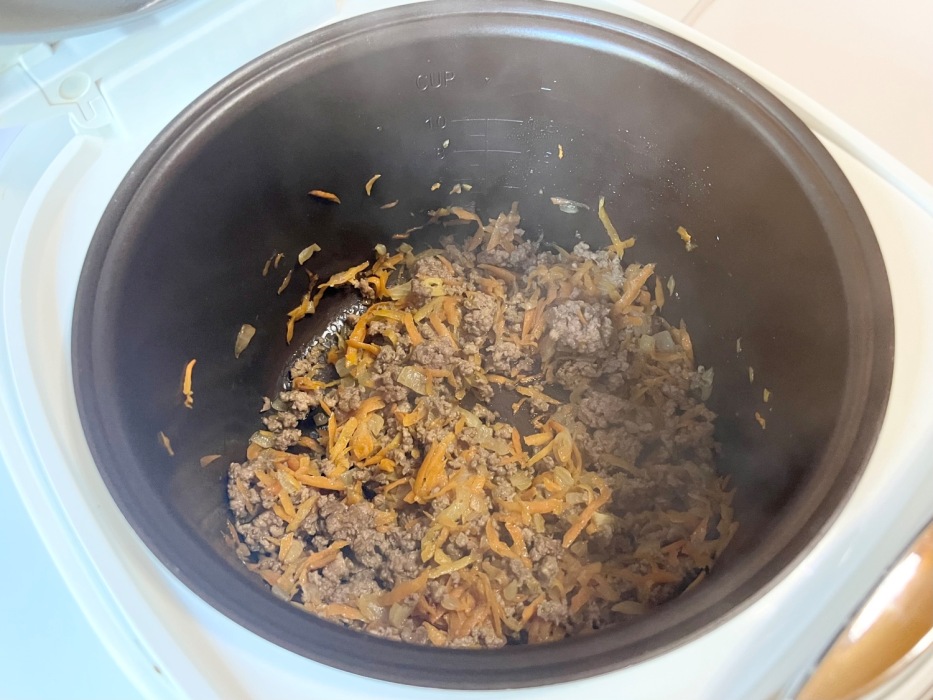
Step 9
Mix the minced meat well with a spatula, breaking it into small pieces. Fry the minced meat with the onion-carrot mixture for about 10 minutes.
If you decide to add frozen peas to the dish, you should do so at this stage.
-
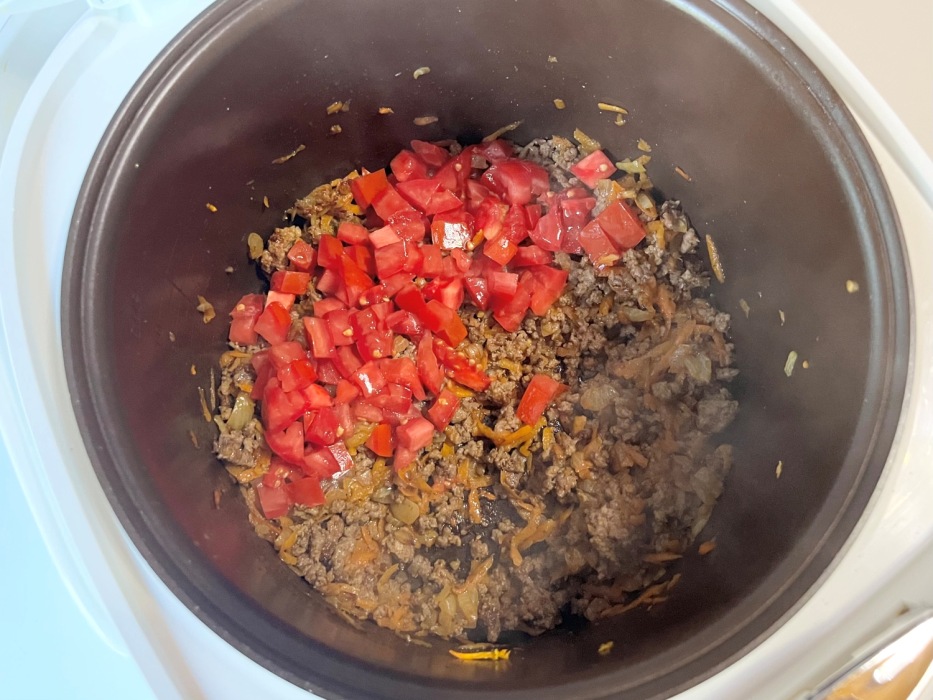
Step 10
Add tomato and spices to the minced meat, salt and mix well. Fry for another 2 minutes.
If you decide to add frozen peas to the dish, you need to do it at this stage.
-
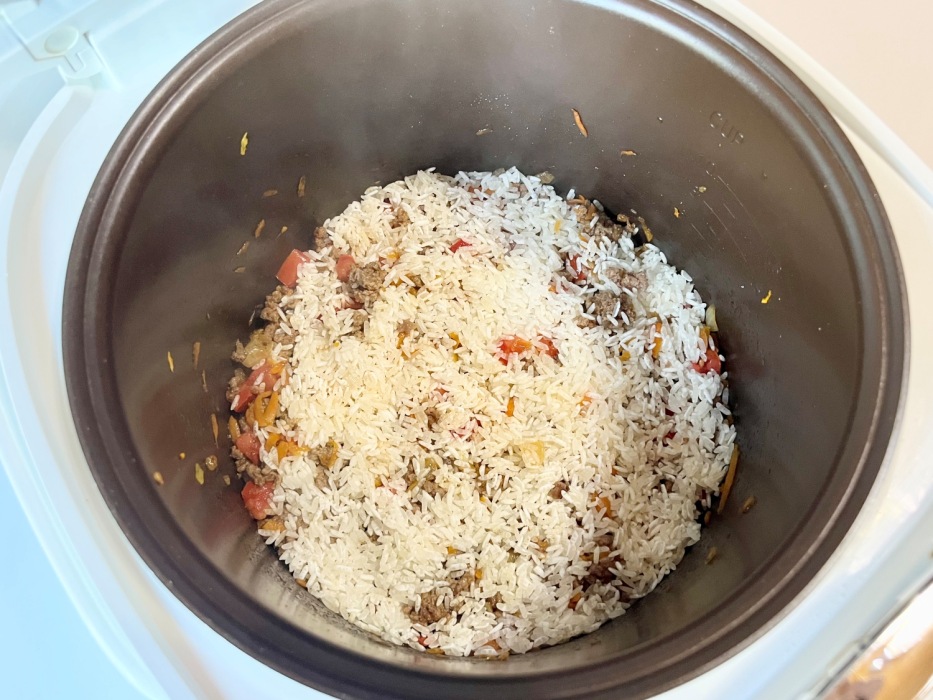
Step 11
Pour in the washed rice and spread it with a spatula over the surface of the meat filling, try to do it evenly. There is no need to mix with the filling, we will do this at the end.
-
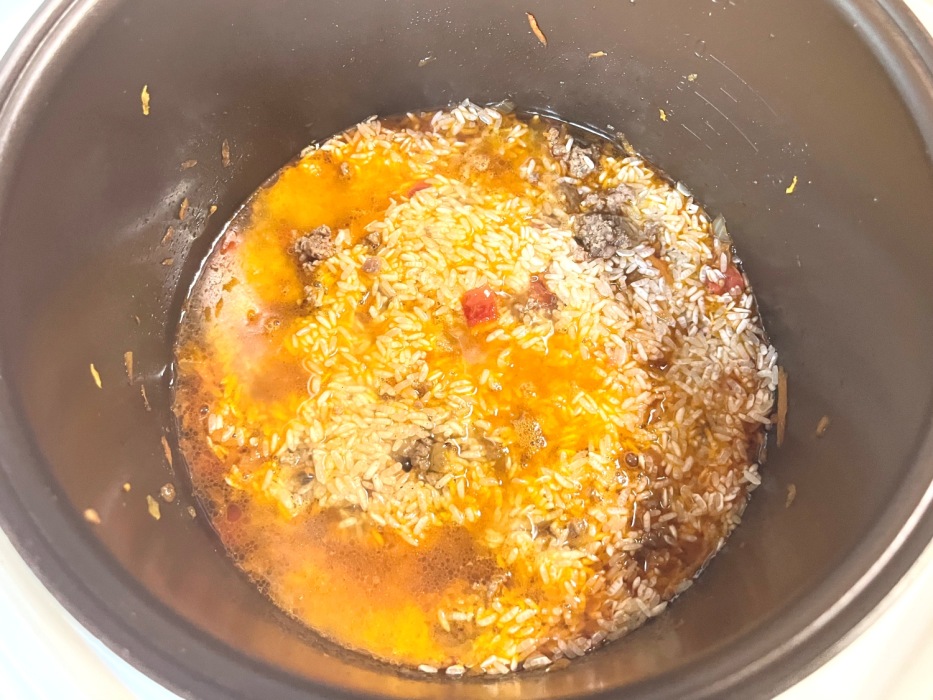
Step 12
Carefully pour in warm water and add a pinch of salt. The water should lightly cover the surface of the rice. You may need less water than stated in the description. If you add too much water, the rice will turn out overcooked, like porridge.
You might be interested in:
Quick dinner — 8 ways to cook pasta with minced meat quickly and tasty

-
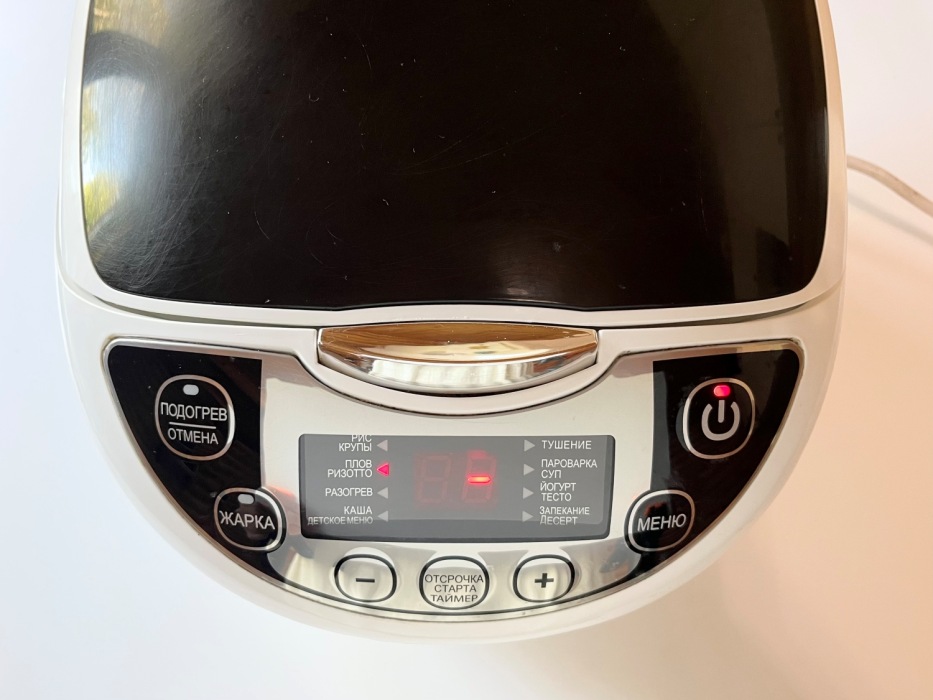
Step 13
Switch the multicooker to the “pilaf, risotto” mode, close the lid. I have this mode for 25 minutes. If your multicooker does not have such a mode, you can select “rice, cereals”, or put it on “stew” for 20-25 minutes, periodically checking the readiness of the rice; it should be completely cooked.
-
Step 14
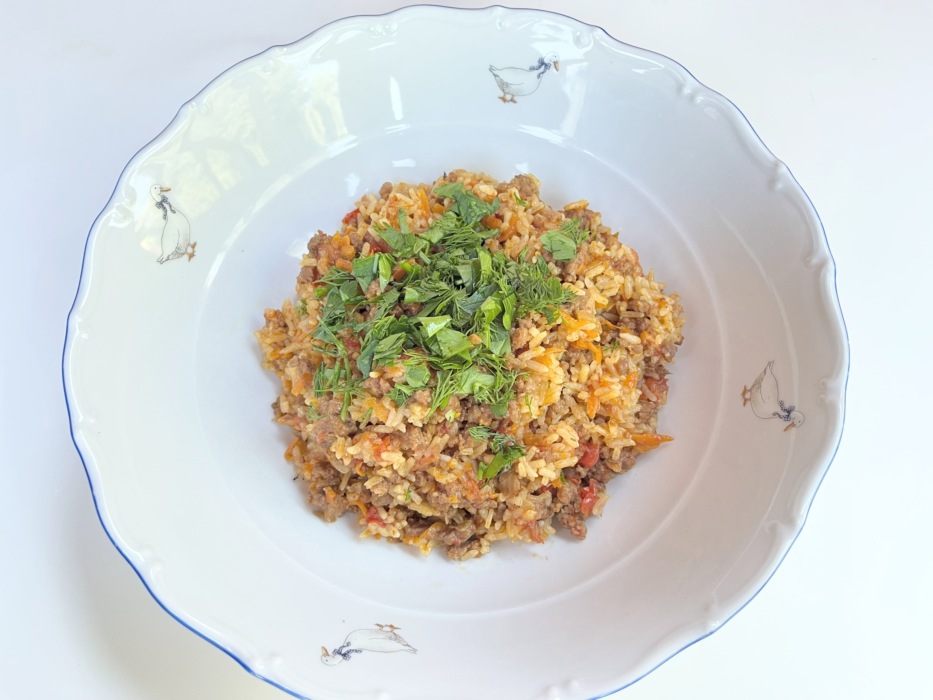
At the end of cooking, mix the rice with the minced meat and let it “rest” in the slow cooker for about 10 minutes. Sprinkle with finely chopped herbs and serve hot. As with pilaf, this dish goes well with a salad with tomato, onion and herbs. Bon appetit!
📌 For other recipes FROM MINT MEAT IN A MULTICOOKER, SEE 👉🏻 HERE