
Step 1
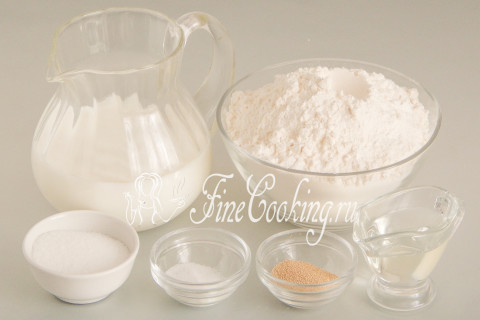
To begin with, we take the products that we need to prepare yeast dough: wheat flour, kefir or sour milk, sugar-sand, vegetable oil, salt and yeast. All products must be at room temperature.
Step 2
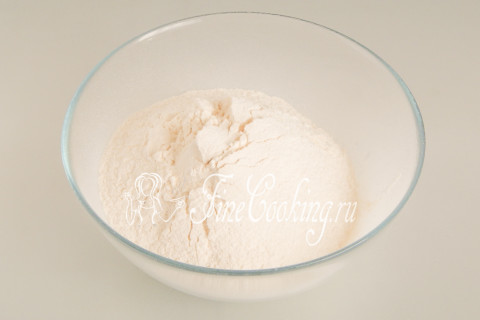
Sift (preferably twice) wheat flour (500 grams) in a bowl. Thanks to sifting, the flour is not only loosened and saturated with oxygen, but possible garbage leaves. I use 500 grams of flour, since I use the product of one brand (Lida) — you may need a little more or slightly less.
Step 3
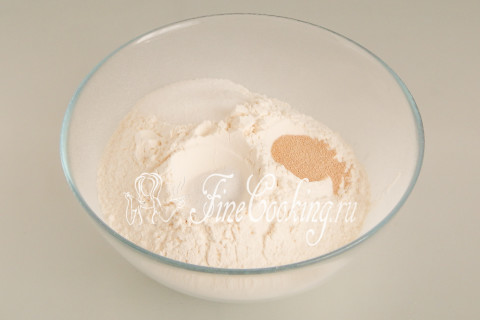
Add 1.5 teaspoons (1 spoon with a slide) to the flour of high -speed yeast, 100 grams of sugar and 1 teaspoon of salt without a hill, that is, under the knife (preferably small grinding).
Step 4
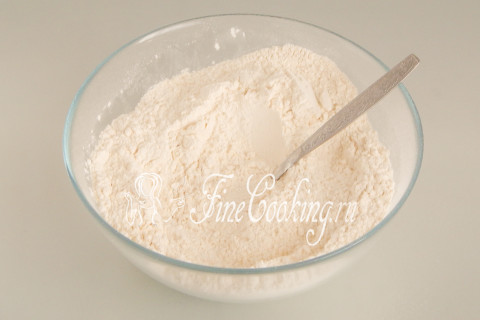
Mix thoroughly with a fork or a whisk so that all the dry components are evenly distributed along the mixture.
Step 5
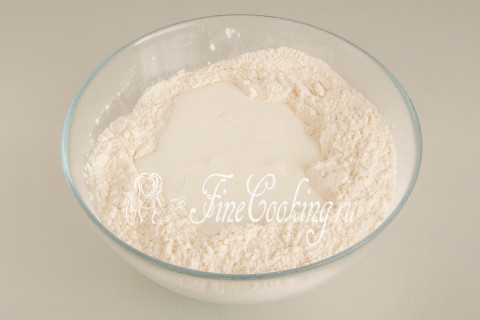
We make a recess in a flour mix and pour 300 milliliters of kefir into it. You can very slightly warm it, only a little.
Step 6
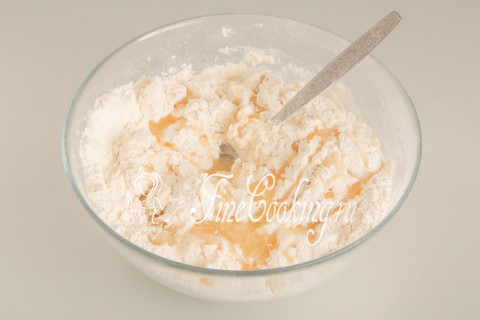
Mix all products — you can with a hand or fork (who is convenient). When the flour moisturizes, absorbing moisture, add three tablespoons of vegetable oil. I use sunflower refined.
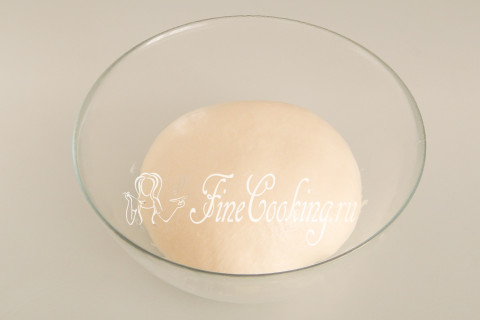
Step 7
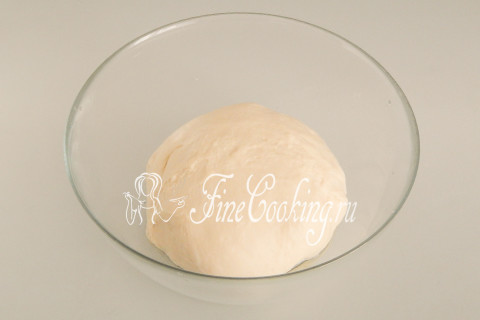
To knead this yeast dough needs for a long time (at least 10, and better than 15 minutes) and intensively. As a result, it will become smooth, homogeneous, soft and not sticky. We round the dough into the ball and put it in a bowl, which we literally lubricate with a teaspoon of vegetable oil (in the ingredients did not indicate) so that it does not stick to the dishes during fermentation. We send the yeast dough to heat for 1 hour. Where is it better to wander the test and what does a warm place mean? There are several options. First of all, in the oven with a light bulb turned on (it turns out about 28-30 degrees — the temperature ideal for fermentation of yeast dough). Then we tighten the bowl with the dough with cling film or cover with a towel made of natural fabric (flax is best suited) so that the surface does not be swollen and not covered with a crust. You can also let the dough wander in a microwave, in which we pre -boil a glass of water. The dough will rise with a door closed, and the glass will stand there. Then the bowl does not need to be closed with anything, since the water will evaporate, thereby maintaining the necessary humidity. Just make sure that no one inadvertently turns on the microwave, otherwise the dough will disappear and there will be no baking.
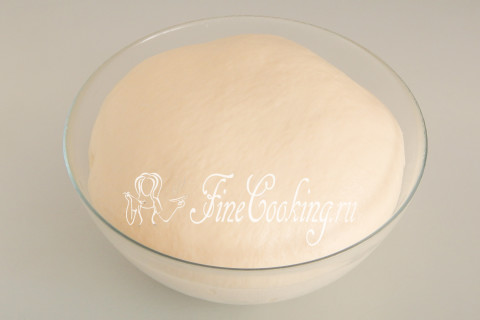
Step 8
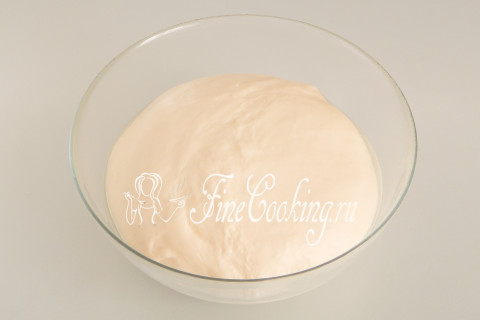
After 1 hour (time — the concept of relative, it may take more or less) yeast dough on kefir will rise very well, and will increase in volume by about 2-2.5 times. It is very tender and fluffy. If the dough rises weakly, then you came across old yeast — increase the time of fermentation.
Step 9
We make a light grinder to release excess air, re-round the dough and again in heat for another 40-50 minutes.
Step 10
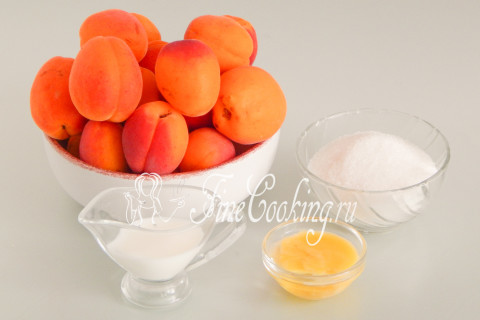
While the dough is suitable, we will take up the filling for future pies. We will need apricots and sugar. In addition, for a blush, to lubricate the blanks, we will be egg yolk with milk.
Step 11

I am my apricots, carefully dry, remove the seeds, and cut the pulp with arbitrary slices. For the filling for such a quantity of dough, we need 500 grams of prepared apricots.
Step 12
During this time, the yeast dough on kefir will rise very well again, will become even more tender and fluffy. Now you can work with it.
Step 13
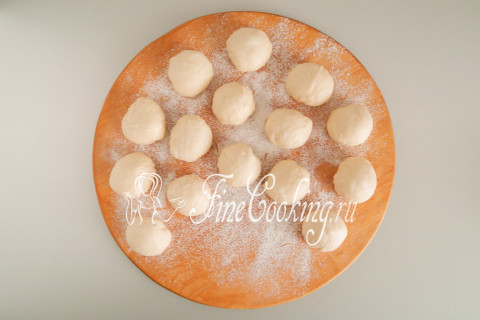
Divide the dough into pieces of the same size — I have 15 pieces. We roll each piece in a ball and put on a board, very slightly sprinkled with flour. If you have not yet filled your hand in the modeling of pies, that is, the process takes a lot of time from you, cover all the pieces of dough with a film or towel so that you do not be blurred.
Step 14

We proceed to form pies. We take one ball of dough and flatten it with a palm. If you want, you can roll out with a rolling pin — this is not fundamentally, since the dough is very tender and supple, it is perfectly stretched with your hands.
Step 15
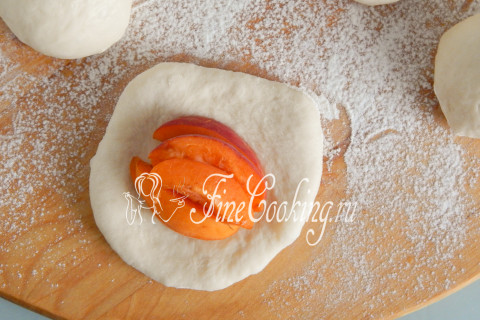
In the center we put several slices of apricots so that there is as little void inside.
Step 16
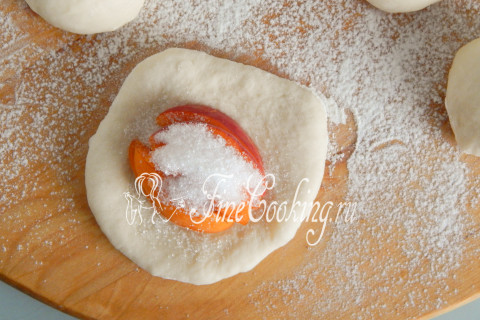
Gently sprinkle apricots with sugar. For all 15 pies, I needed only 3 tablespoons of sugar.
Step 17
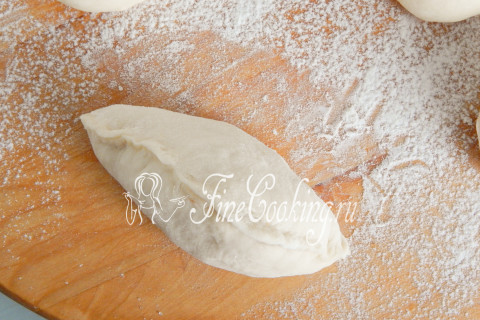
Depending on your preferences, we choose the shape for future pies (I have traditional boats). We pinch the dough so that the fillings are not visible. The yeast dough according to this recipe turns out to be very plastic and crawls perfectly. Literally a couple of movements and the pie is ready.
Step 18
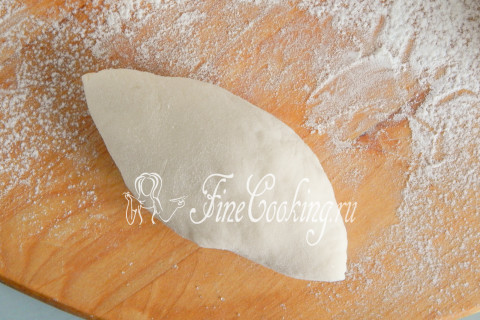
Carefully roll the workpiece in the palms to get an even shape and put the seam down. In general, it is not necessary to make pies of this shape — you can make them round, square or triangular. Similarly, we form the remaining blanks.
Step 19
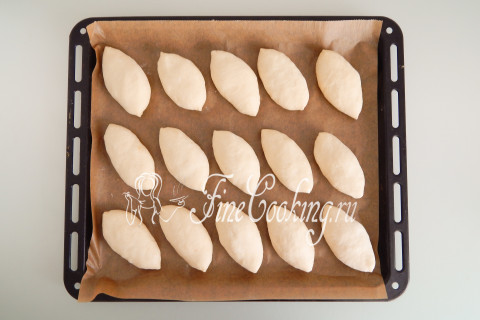
We cover the baking sheet with paper for baking and lay the blanks with a seam down on it. We cover with a towel or cling film and leave to stand up for 25-30 minutes. Immediately turn on the oven at 180 degrees.
Step 20
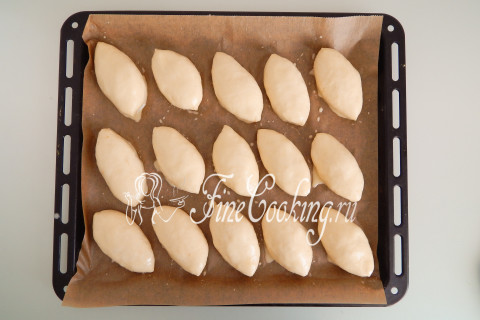
To make the apricot cakes beautiful and ruddy, I propose to lubricate them with egg yolk with milk. Just chat with a fork, adding a little milk, and the lubricant is ready. Small secret: if your oven does not want to blush pastries, add a pinch of powdered sugar to the yolk. Then, in the process of baking, sugar is caramelization and the top of the buns or pies will be browned. I used to do this sometimes with pastries, because the old oven sometimes failed me. We lubricate the blanks that have already managed to fit well, yellow and send to a hot oven to bake for about 25-35 minutes at 180 degrees.
Step 21
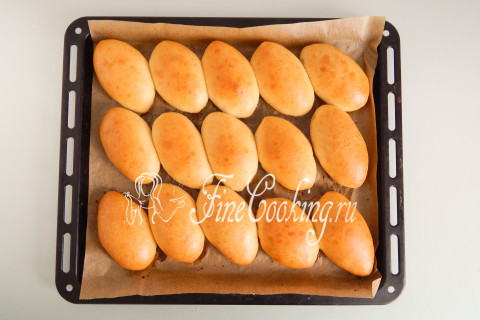
I have a gas oven, lower heating, without convection, so additionally I turn on the grill literally 3-4 minutes. Choose the degree of blush of pies yourself-someone loves only slightly golden, and someone likes almost a brown crust.
Step 22

Ready -made pies with apricots are so appetizing, aromatic and very tasty. Prepare for health, friends, and pleasant to you appetite!