
Step 1
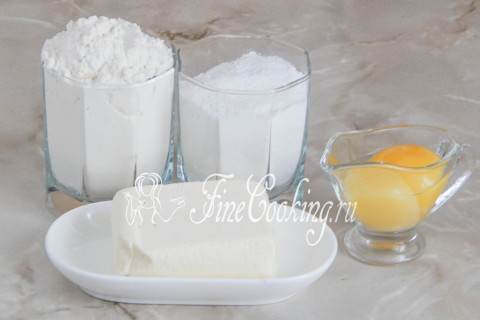
So, first of all, let's prepare the ingredients for making shortcrust pastry: wheat flour, soft butter, two chicken yolks and powdered sugar.
Step 2
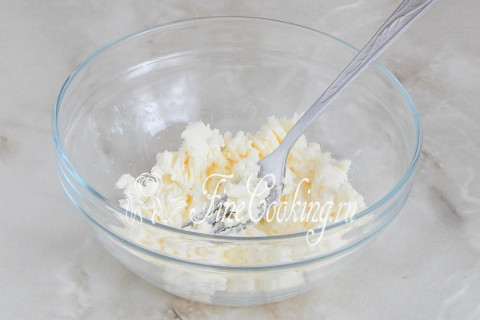
This shortbread dough does not require the addition of baking powder — finished baked goods based on it always turn out tender and crumbly. Place soft butter in a bowl and knead it with a fork or spoon.
Step 3

Add powdered sugar and grind everything.
Step 4
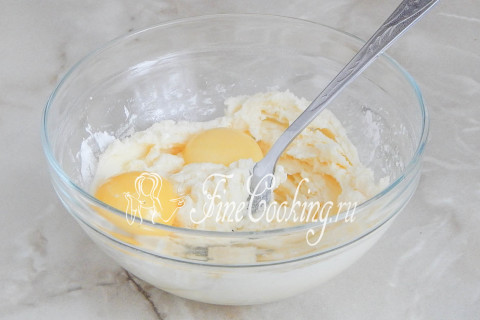
Then add two chicken yolks and mix everything until smooth.
Step 5
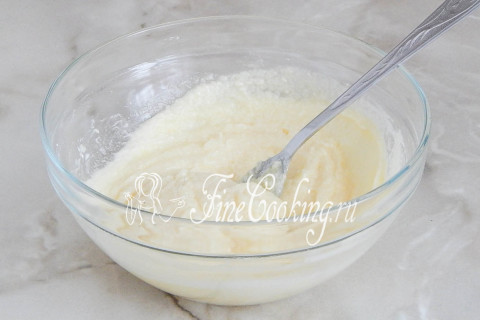
It turns out something like a cream.
Step 6
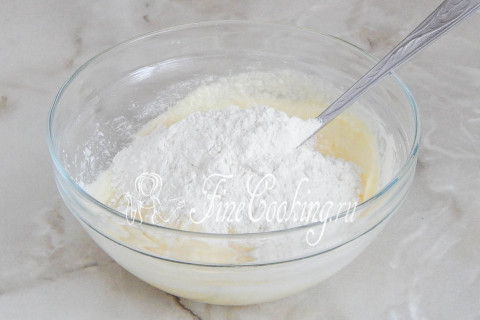
Now all that remains is to add the sifted wheat flour in two steps and quickly knead the dough with a fork or spoon.
Step 7

You will have coarse buttery crumbs.
Step 8

We collect it into a ball with our hands, there is no need to interfere with anything.
Step 9
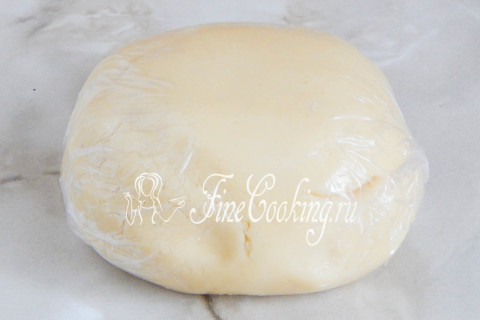
Cover with cling film and place in the refrigerator for at least half an hour, preferably an hour.
Step 10
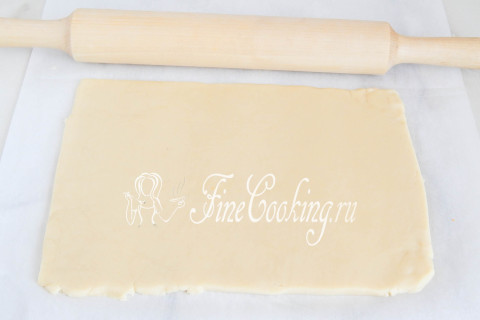
After the required time, take out the dough and roll it out between two sheets of parchment paper. There is no need to dust the dough with flour! The thickness of the layer is approximately 5-7 milliliters.
Step 11
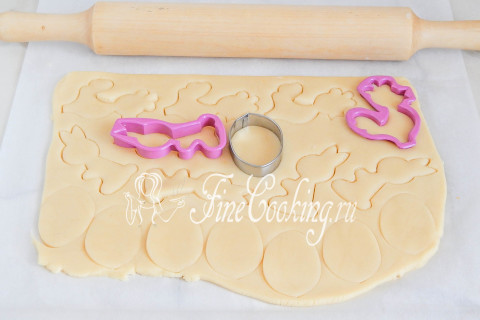
Then we use cutouts and dough molds to cut out the shapes we like best. I made blanks in the form of chicken eggs, rabbits and cockerels.
Step 12
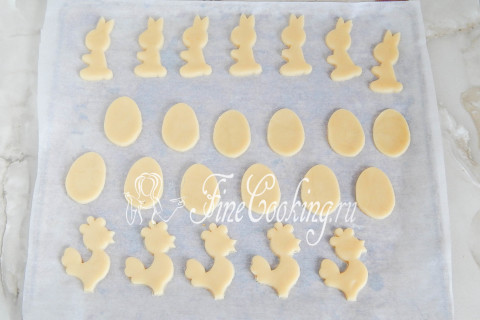
We transfer the future cookies to a baking sheet covered with parchment paper. We collect the rest of the dough into a ball again, roll it out and cut out the cookies. Shortcrust pastry is very pliable, so all the scraps will come together easily and you won't have any leftovers. In total, from this amount of products you can make 30-35 medium-sized cookies.
Step 13
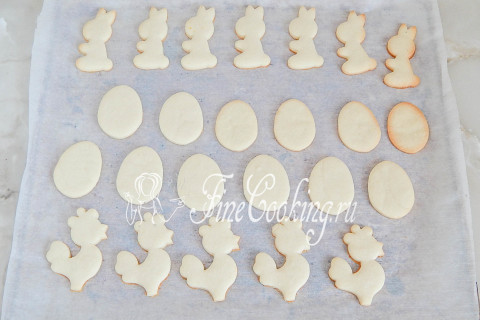
Bake the shortbread in a preheated oven for 15 minutes at 180 degrees. The finished cookies will lighten in color and brown slightly on the bottom. Let it cool completely before decorating with icing sugar.
Step 14
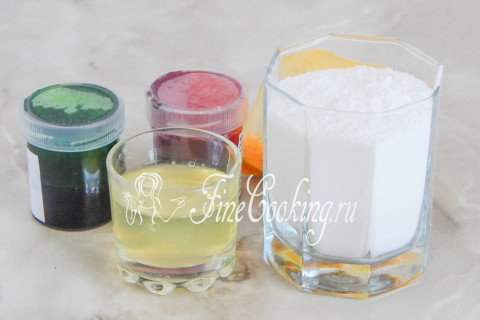
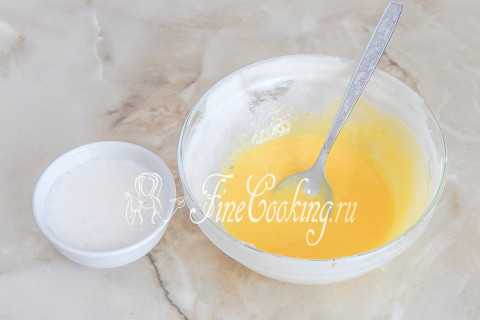
And to prepare the sugar glaze, we need one egg white, a fairly decent amount of powdered sugar and coloring.
Step 15
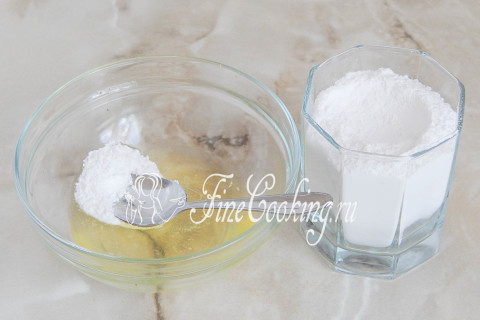
Pour the egg whites into a small bowl and begin adding sifted powdered sugar one teaspoon at a time. Mix everything until smooth, as if rubbing.
Step 16
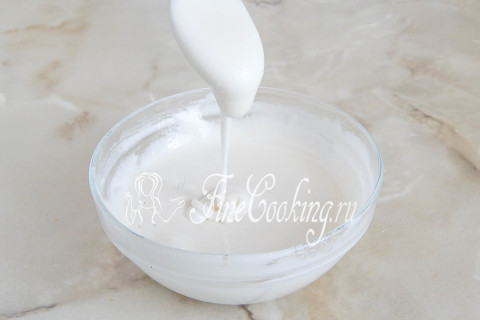
Add powder until the glaze is thick enough. By the way, depending on the size of the egg and, accordingly, its mass, the protein may also be different, so stock up on powder for future use (well, at least another 3-4 tablespoons). We will use this icing to outline the cookies.
Step 17
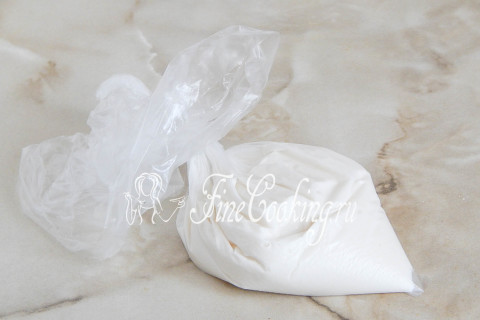
Transfer a third of the glaze to a new plastic bag and seal it. Cover the rest of the icing in the bowl with cling film to prevent it from drying out.
Step 18
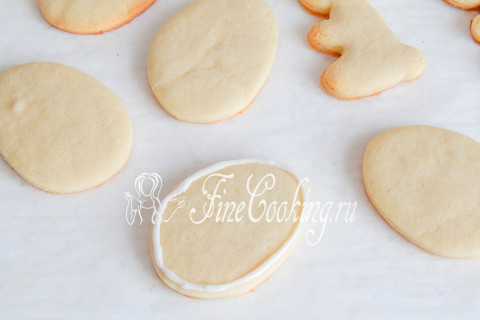
Cut off the tip of the bag with scissors. The hole should not be large — literally 1 millimeter. The glaze will flow out in a continuous thread that will not be interrupted until you want it to. We outline the outline of the cookies in the shape of eggs — it’s quite simple, especially after 3-4 pieces. The photo shows the first attempt at working with glaze, then everything went faster and more accurately.
Step 19
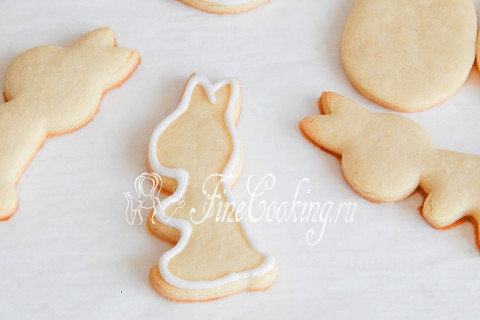
It turned out to be more difficult to trace the rabbits, since there are curves there. But the glaze is easy to control — just release the thread 2-3 centimeters and guide it in the desired direction.
Step 20
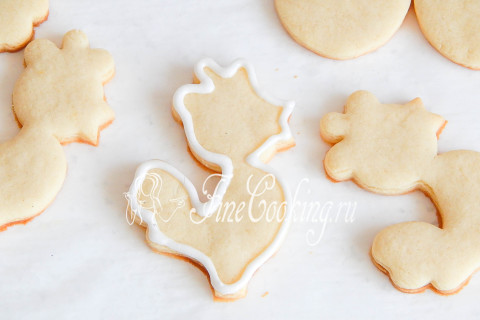
Well, and the cockerels, of course – we’ll outline them too.
Step 21
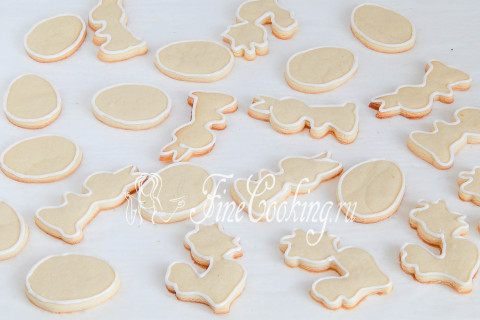
That's it, now the thick glaze needs to dry completely. By the way, by the time I finished tracing the last cookie, the first ones had already dried out.
Step 22
Now let's use our imagination! We can roughly (or exactly) imagine what the pattern on your cookies will look like. And we dilute the glaze with dyes (industrial or natural — it’s up to you) — separately in different bowls. Control the color saturation, do not overdo it — you only need about a drop of liquid. You also need to dilute the thick glaze by adding boiled water or lemon juice literally a few drops at a time. The sugar glaze should be of such a consistency that it is not liquid, but at the same time spreads well. You can try it on one cookie.
Step 23

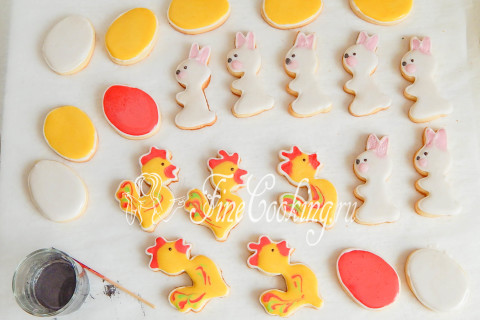
We transfer the finished glaze into bags and tie them. I have yellow and white as the main colors for rabbits, cockerels and eggs. Pink is for the ears and cheeks of the rabbits, so there is little frosting and it is in a bowl. We will paint the ears and other small parts with a toothpick. I also added some green icing for the cockerels' tails. And I also made a little red for the tails, combs and beaks of the birds. The remaining red icing was used to cover the eggs and design on them.
Step 24
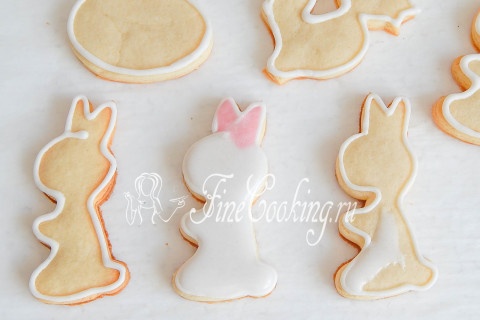
Take and squeeze out the white icing from the bag, filling the bunny's body. Little by little, otherwise the glaze may spill over the edges. The sides are made of thick glaze, which has already dried, preventing the liquid from spreading, but still. Use a toothpick to push the icing towards the edges. Then use another toothpick (one for each color) to fill the ears with pink. The rabbits are almost ready.
Step 25
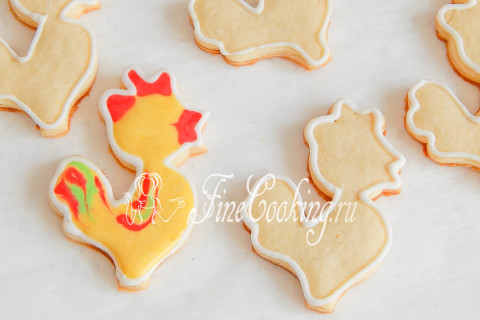
We are dealing with cockerels. It is based on yellow glaze, which is used to fill everything except the scallops and beak. While she has not yet had time to grab, we draw the tail and wings in red and green. And finally, the red comb and beak.
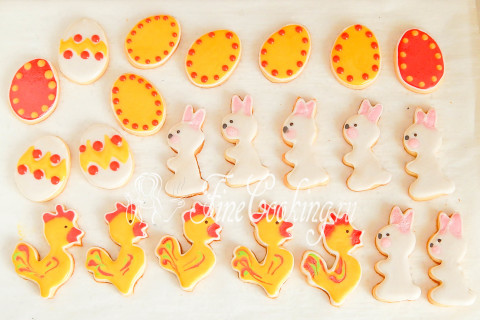
Step 26
We paint Easter eggs however we like – that’s when my imagination started to leave me. I simply filled the background with whatever icing was left over. Then it turned out what you have in the photo. I almost forgot: we’ll make the rabbits’ cheeks — just a drop of pink icing. I made the eyes for the babies from small sugar balls — I simply opened a milk tube (you can always buy these in the store — large tubes filled with multi-colored granules through which they drink milk). And I also drew noses for the rabbits — I painted just a little bit of icing of any color with black dye.
Step 27
All you have to do is let the cookies dry completely and you can hide them so that the children won’t find them until Easter.
Step 28
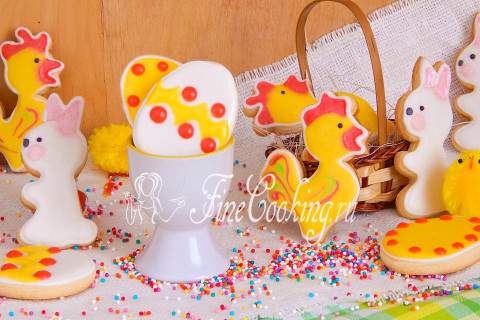
Delight your kids with homemade cakes, but don’t forget that everything should be in moderation. Cookies contain a large amount of sugar, so a couple of cookies with milk and no more!