Preparation: Step 1
-
Video reception of pilaf pilaf in Kazan
Watch the video on a separate page
Pork pilaf recipe in a cauldron with step -by -step photos
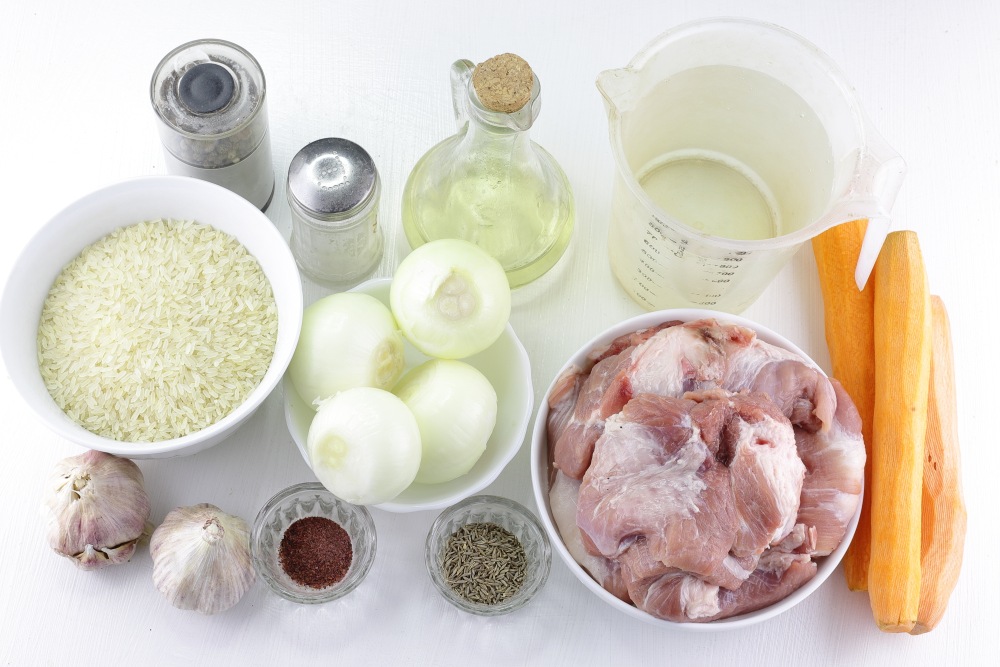
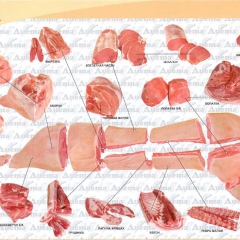
Prepare all the ingredients for pilaf with pork. For the recipe, a pork blade, neck or Korea is suitable — they are juicy, with the desired amount of fat. It is fat that gives the dish a saturation. Avoid lean notch — it makes pilaf dry. Rinse the meat thoroughly and dry with paper towels.
For real pilaf, it is best to use long -grain rice with a low starch content. Varieties of Basmati or Devzir are suitable. Such rice is not boiled and remains crumbly. Before use, it should be thoroughly washed in cold water 5–7 times, until the water becomes transparent, it will remove excess starch.
I will use steamed rice. This is a great choice for pilaf, especially if you want to get a crumbly structure without much effort. However, its taste is slightly neutral than that, for example, the Uzbek rice of the girl, which gives a more saturated aroma. Parked rice is prepared a little longer than ordinary white rice.
Which rice is better to choose for pilaf, cereals, rolls, salads, kuti and kharcho?
-
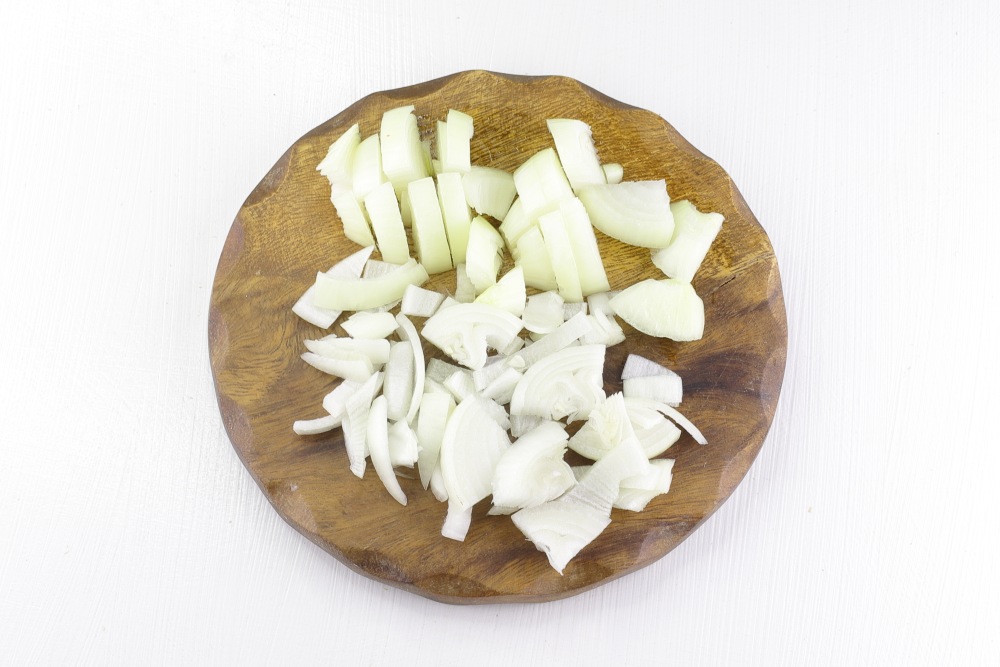
Step 2
Clean, rinse and dry the bow. Cut into cubes.
-
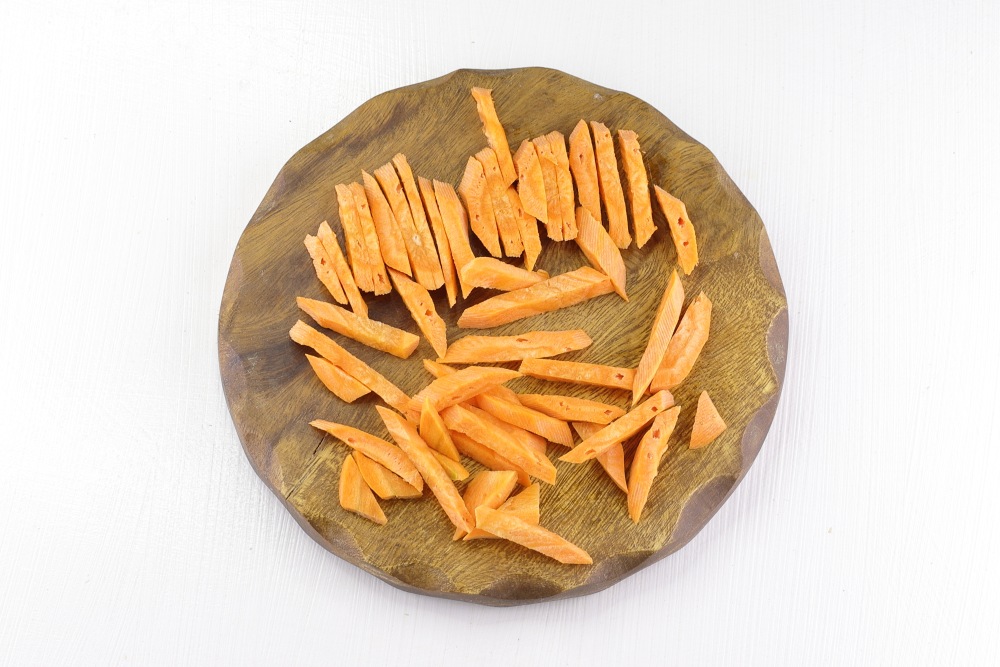
Step 3
Clean the carrots, rinse and dry. Cut the cubes.
Watch the master class «How to spend in the kitchen no more than 1 hour a day and at the same time it is good and useful to feed» 👉🏻 here
-
Step 4
Cut the pork in medium pieces so that they are well fried and remain juicy inside.
Culinary School online: how to choose the right meat

-
Step 5
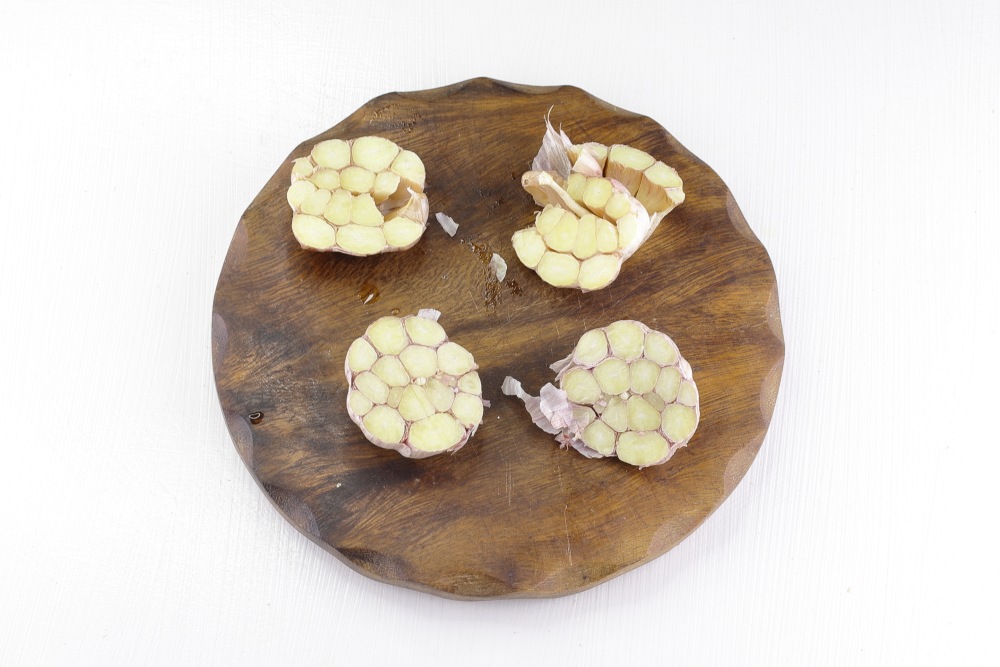
Rinse the garlic heads well without cleansing the husk. Cut horizontally into two halves. Garlic will give pilaf the unique aroma, and it can be eaten directly with the pilaf, it will turn out soft and sweet to taste.
-
Step 6
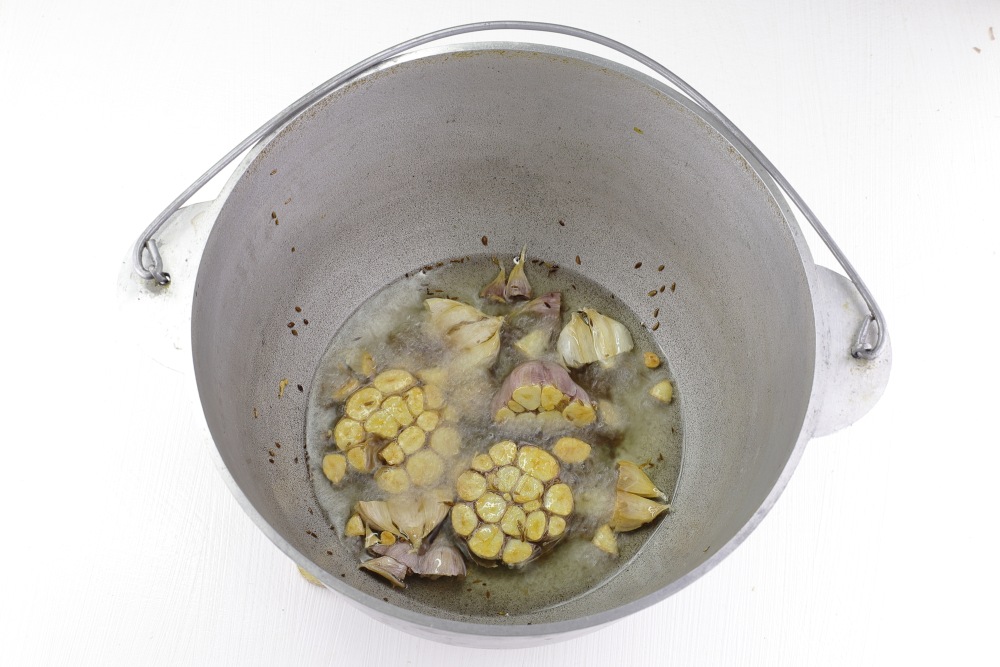
Heat vegetable oil in the cauldron. It is better to use oil without a pronounced smell (sunflower or rapeseed). In hot oil, lower the halves of garlic and zira seeds. Fry before the appearance of light golden crust on a cut of garlic.
-
Step 7
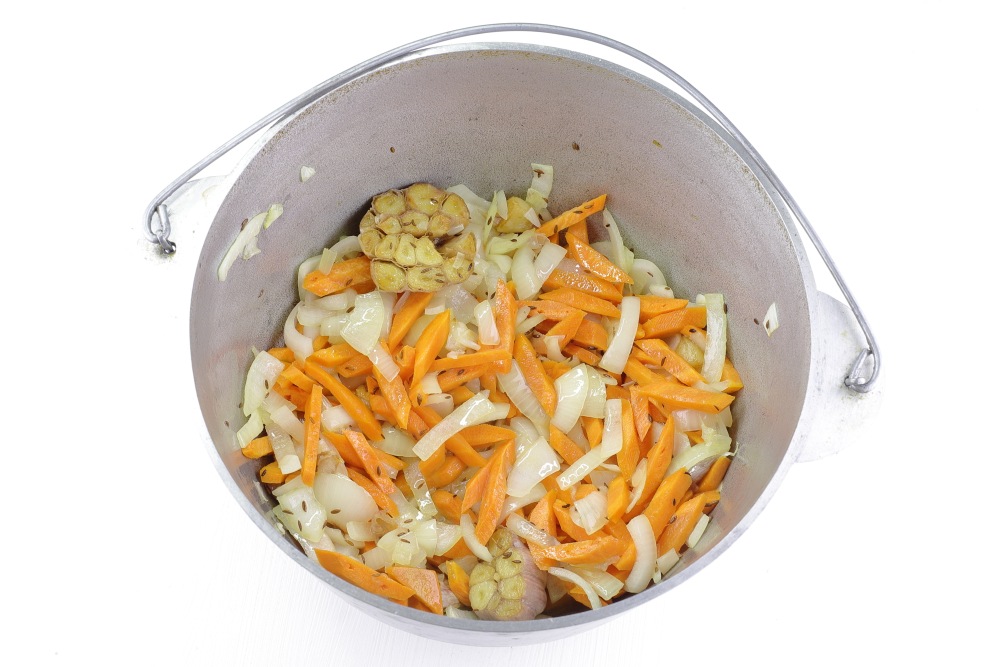
Add chopped onions and carrots.

-
Step 8
Fry 5-8 minutes over high heat, stirring regularly. The onion should become transparent, and the carrots are slightly soft. It is at this stage that the basis of taste is formed.
-
Step 9
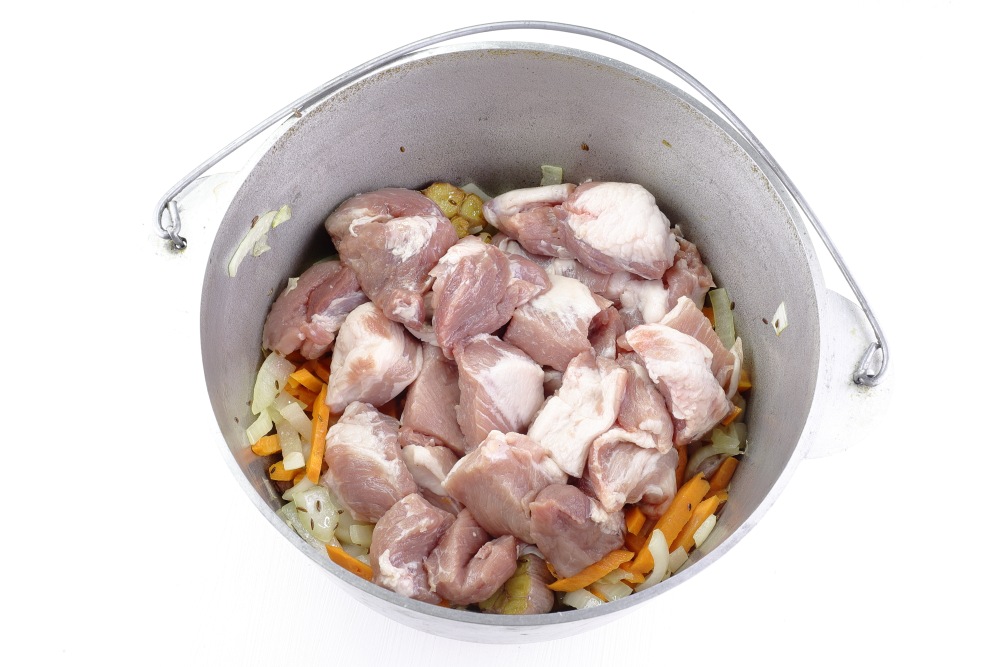
Send pork to Kazan. Mix.
-
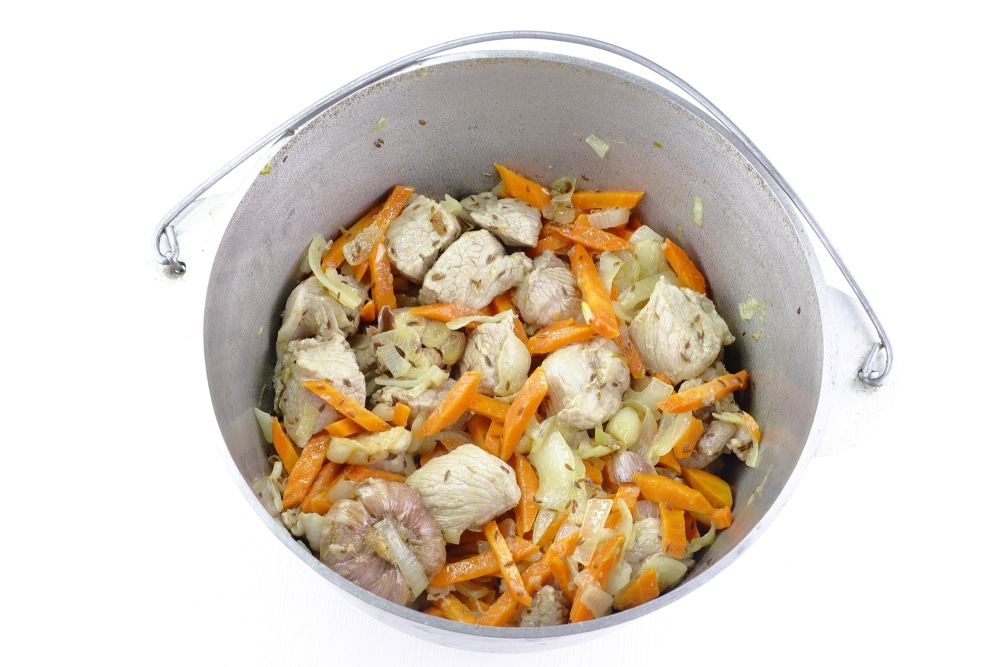
Step 10
Fry 8-10 minutes over high heat, mixing from time to time. The meat should change its color to lighter and slightly browned.
-
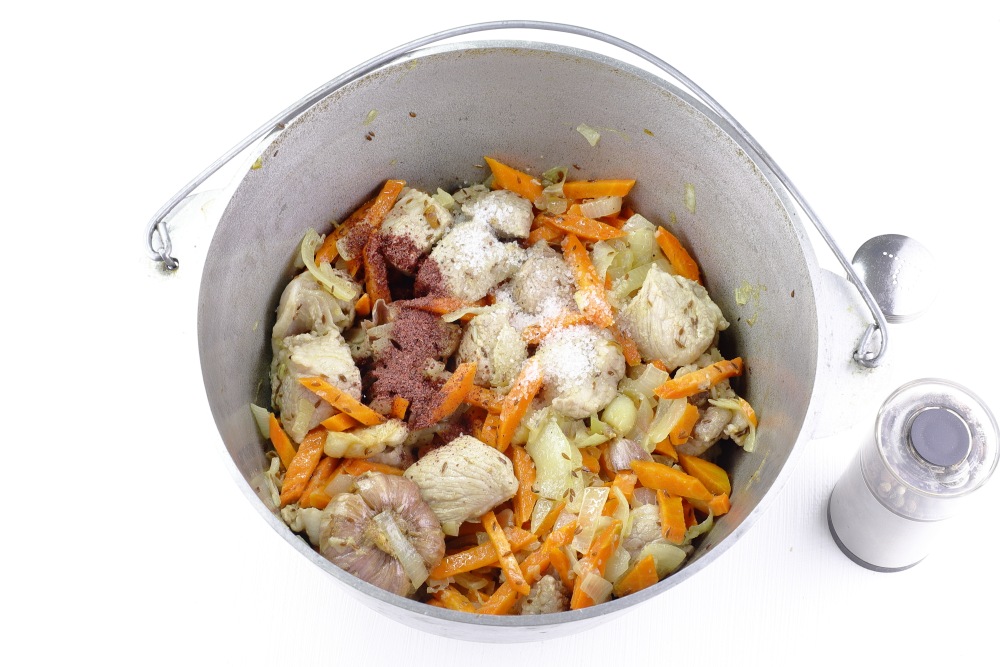
Step 11
Add spices: salt, black pepper and bags. Mix. Fry for another 1-2 minutes. Sumy can be replaced by barberry — he will also give light sourness. If there is nothing of this, add a couple of drops of lemon juice or a little pomegranate sauce already in the finished dish.
-
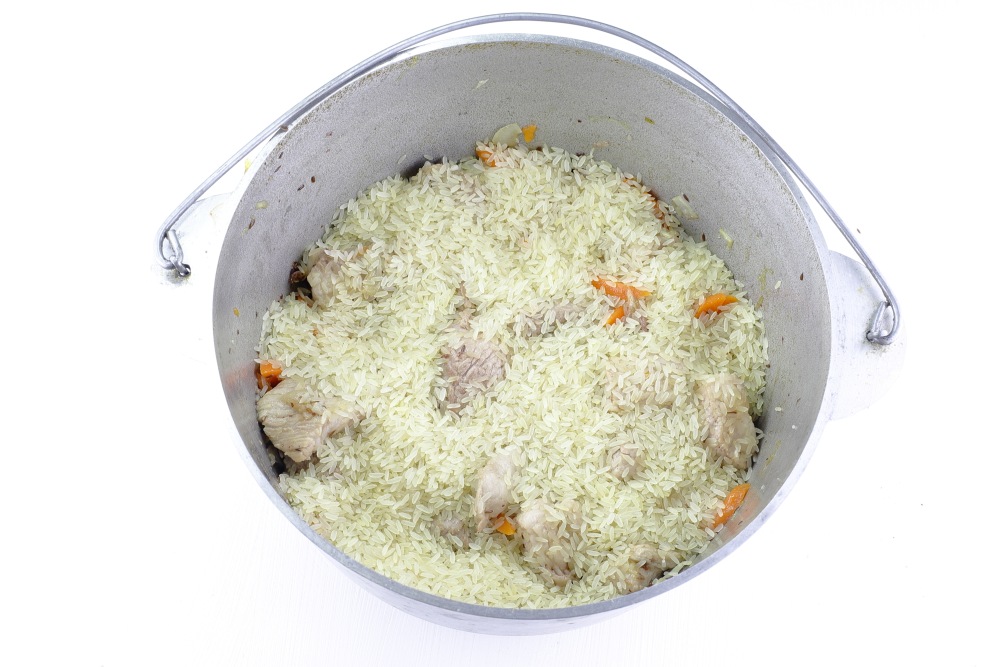
Step 12
Pour rice, flatter — without mixing! It turns out a “cover” of rice, under which meat and vegetables will languish.
-
Step 13
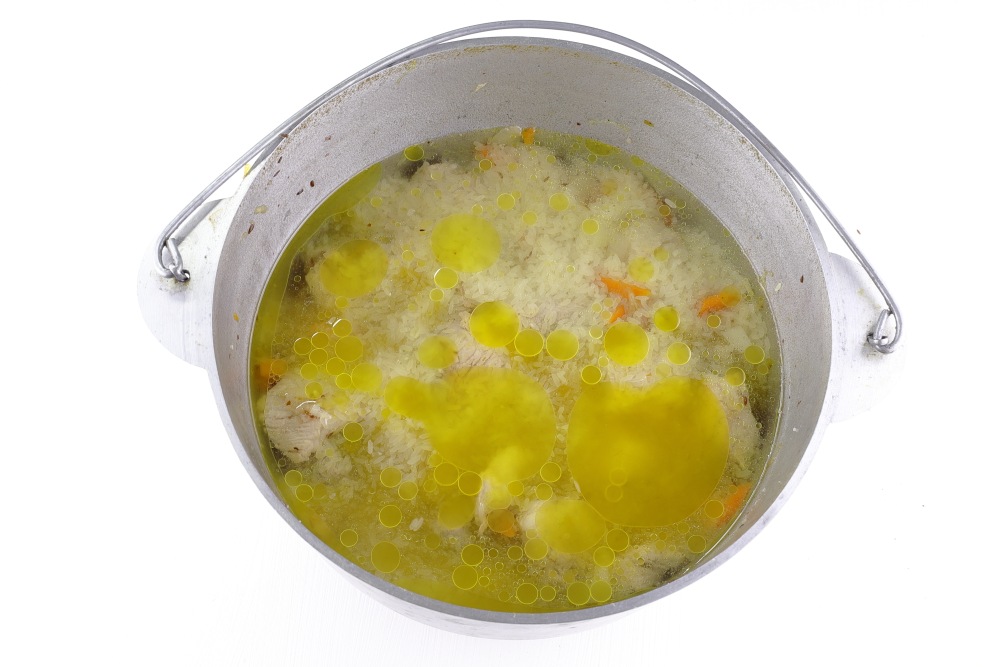
Pour hot water. Usually take 2–2.5 parts of water per 1 part rice. The water layer should be 2-3 cm above the rice. Bring to a boil, reduce the fire to a minimum, cover with a lid and prepare for 35–40 minutes. During the cooking process, do not interfere! This is an important rule for it to remain crumbly.
-
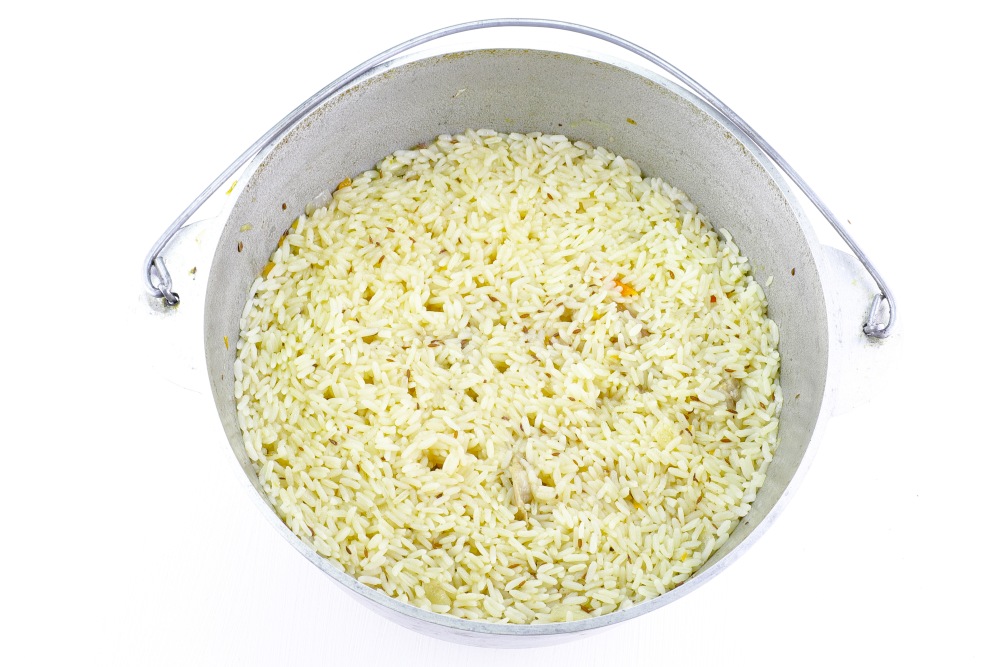
Step 14
After this time, all the water should be absorbed.
-
Step 15
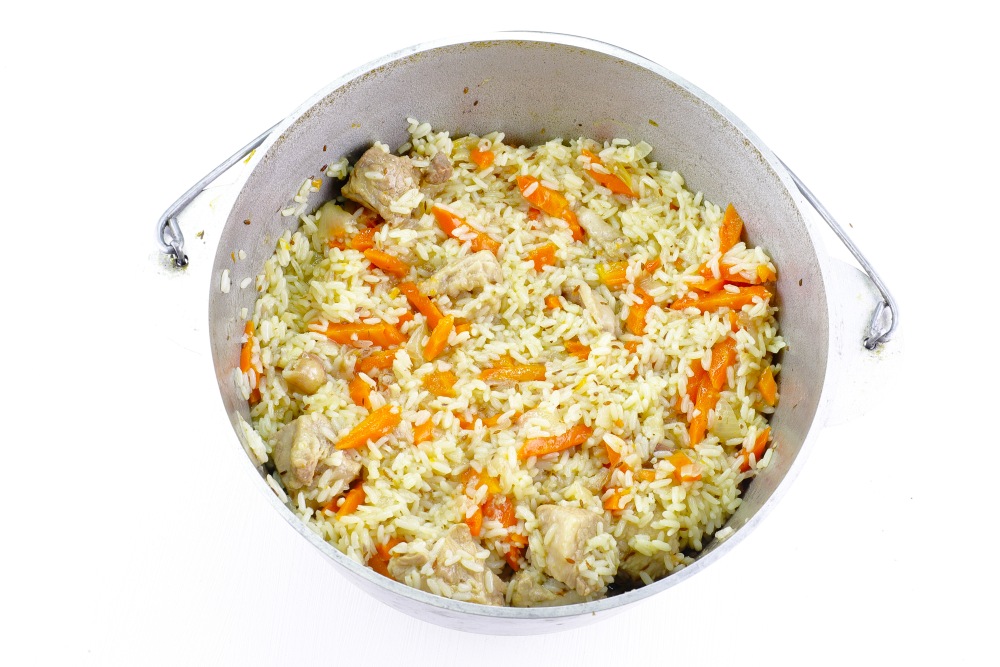
Mix gently so that all tastes are connected. Cover with a lid for 10-15 minutes and can be served to the table.
-
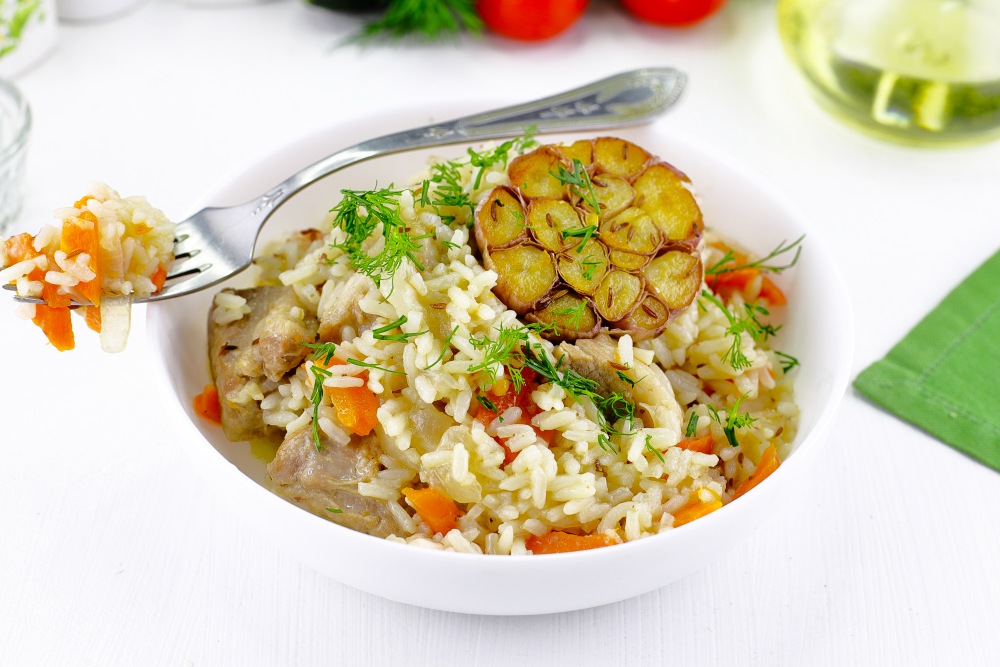
Step 16
Pig from pork in the cauldron is ready.
The finished pilaf is best consumed for 1-2 days. Store it in the refrigerator, in a sealed bowl. Before serving, you can heat up in a microwave or in a pan with a small amount of water and under the lid
Bon appetit!
📌 Want to try other options? Look Our selection of pilaf recipes with photo and video — There is pilaf with chicken, lamb and even vegetarian!