
Step 1
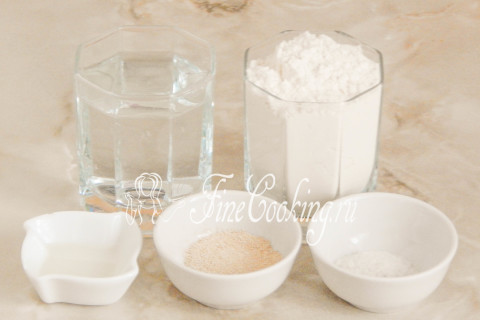
To prepare the dough for Ukrainian scapula, we take the wheat flour of the highest grade, water, salt, high yeast and refined vegetable (in my case, sunflower) oil for lubricating the bowl.
Step 2

So, first of all, we will make dough. Perhaps you ask for what is the dice and why it is needed. I won’t write a lot and for a long time that the bottom line is that this is a semi -finished product that is used to baking bread and other bakery products and increases the plasticity of the dough. In other words, this mixture of flour, water and yeast helps to achieve a more delicate and porous crumb, as well as a more saturated taste and aroma of finished baking. We will make a thick dough, for which we sift 315 grams of wheat flour in a bowl, add one and a half teaspoon of high -speed yeast. We thoroughly mix everything with a spoon or right with your hand so that all dry ingredients are evenly dispersed along the mixture.
Step 3
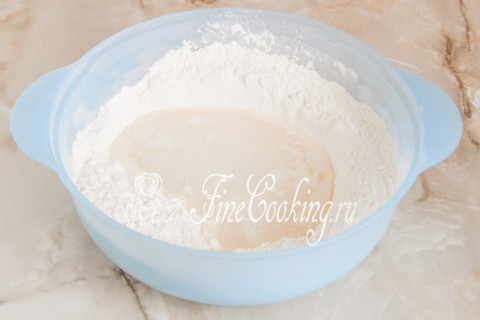
We make a recess in the flour and pour 160 milliliters of warm (slightly warmer body temperature) of water there. If you use too hot water, the yeast will die and the pastries will not rise. In cold water, the dough will wander longer. It is possible that you need a little more or less liquid — it depends on the moisture content of wheat flour.
Step 4
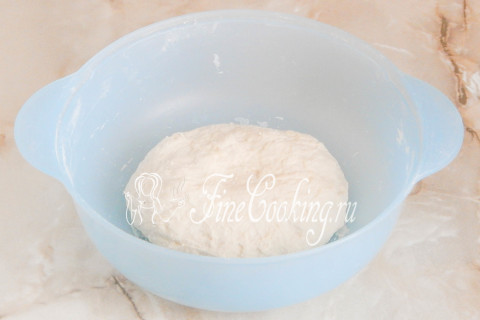
We knead the dough for dough with your hands or with the help of dough (bread makers) to relative smoothness. There is absolutely no need to knead for a long time. According to the texture, the acute is obtained as a rather thick and not sticky dough, but it should not be too tight and dense. We send the dough to the heat of an hour for 2.5-4 hours — the time of fermentation of dough will depend on the freshness of the yeast and the temperature in the room. Where is it better to dough (and the very yeast dough) to roam and what does a warm place mean? There are several options. First of all, in the oven with a light bulb turned on (it turns out about 28-30 degrees — the temperature ideal for fermentation of yeast dough). Then we tighten the bowl with the dough with cling film or cover with a towel made of natural fabric (flax is best suited) so that the surface does not be swollen and not covered with a crust. You can also let the dough wander in a microwave, in which we pre -boil a glass of water. The dough will rise with a door closed, and the glass will stand there. Then the bowl does not need to be closed with anything, since the water will evaporate, thereby maintaining the necessary humidity. Just make sure that no one inadvertently turns on the microwave, otherwise the dough will disappear and there will be no bread.
Step 5
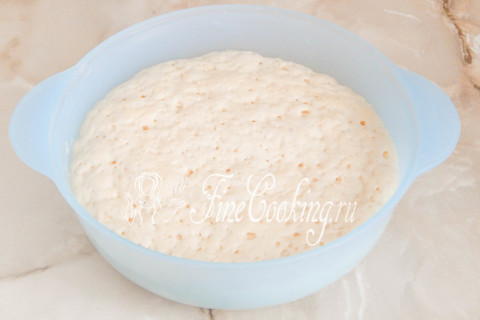
A sign that the dumped is thrown out, will serve its appearance. First of all, initially a rather dense dough will noticeably liquefy, greatly increase in volume, it will be pierced by bubbles and begins to settle.
Step 6
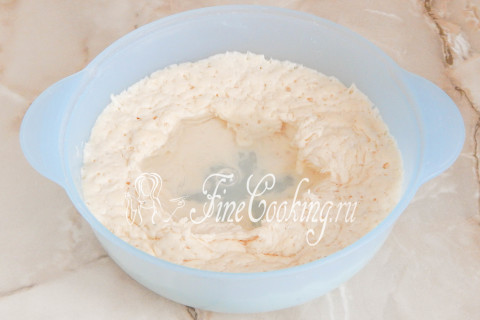
We make a hole in the dough and pour 210 milliliters of warm water into it, in which 9 grams of salt must first be dissolved.
Step 7
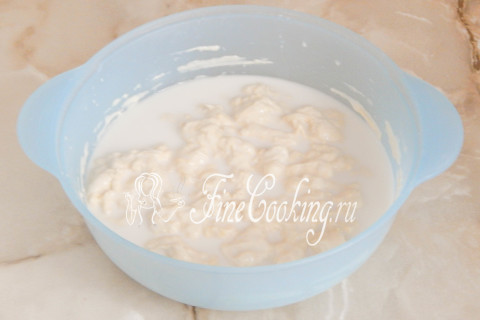
Mix everything so that the dowry becomes a slurry.
Step 8
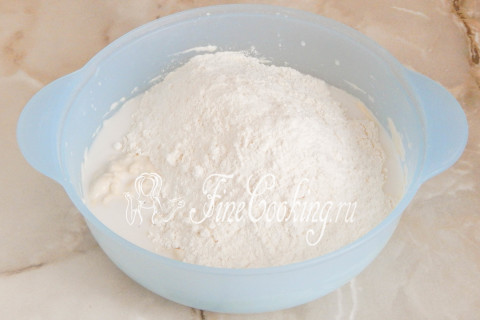
Now in portions we begin to interfere with sifted wheat flour, kneading the dough. It may well be that you will not need all 385 grams, so focus on the appearance of the kolobok.
Step 9
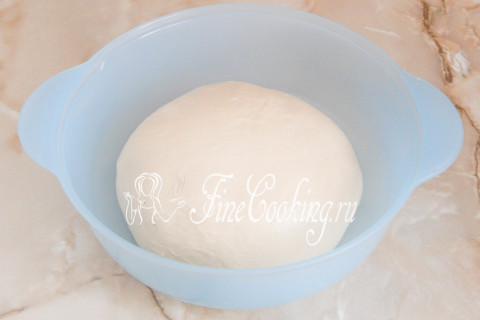
The yeast dough for the Ukrainian pairing should be completely homogeneous and smooth, it is not liquid and not to say that it is soft. Closer to dense, but not tight. We round the dough into the ball and put it in a bowl, which we lubricate with a small amount (literally a teaspoon) of vegetable oil so that it does not stick to the dishes during fermentation. We send the dough to heat for fermentation for an hour and a half or two hours.
Step 10
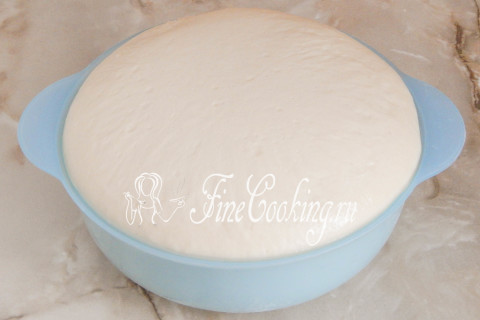
Although the landmark will not be time at all, but the appearance of the yeast test — it should grow at least 3 times.
Step 11
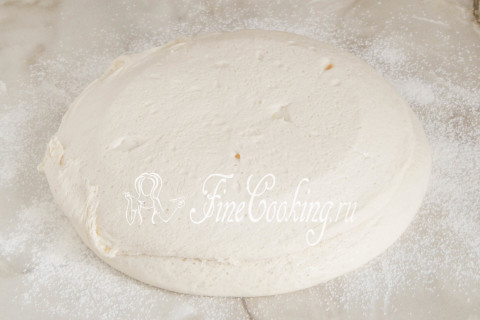
Sprinkle the working surface with a small amount of wheat flour (the weight in the ingredients is not indicated) and carefully spread the dough.
Step 12

With slightly powdered with flour, gently crumple the dough to remove them of large air bubbles. Do not torment the dough strongly!
Step 13
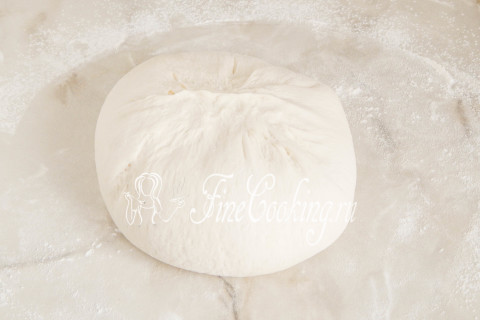
And now we collect the layer in the ball, folding the edges to the center to make the smooth surface outside.
Step 14
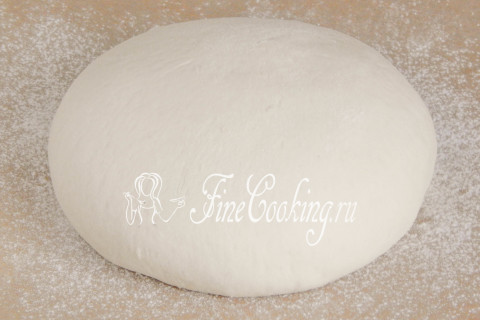
You can spread the dough both directly on a baking sheet (my version) and in a bowl (then we put the ball up up). We shift the baking sheet covered with baking paper and slightly sprinkled with flour. We turn the workpiece on the seam, slightly wipe the surface with flour. We cover with a film or towel so that the dough is not covered with a crust.
Step 15
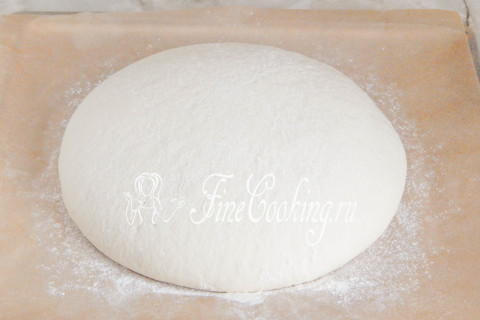
We leave in the warmth for about 1 hour.
Step 16
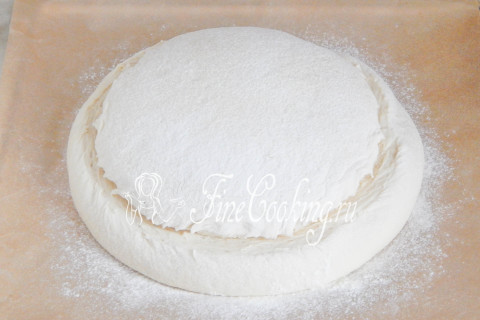
It remains to make an incision before baking bread. To do this, it is best to use a blade or a very sharp knife with a thin blade. The incision (about 2 cm deep) is made by sharp, accurate movements at an angle of 3/4 of the entire circle.
Step 17

We bake the Ukrainian scapula on the pod (that is, on a baking sheet) in a preheated oven at 200 degrees with a steam of about 45-60 minutes. In other words, this wheat bread is needed at a relatively high temperature and high humidity. Steam can be created in two ways. Firstly, just throw several large ice cubes in the already warmed oven at the very bottom. Or put a bowl of water on the bottom in advance. During the baking of this lean bread, steam will rise up, thereby helping the product rise, and the section is opened. In addition, a couple of pastries contribute to the fact that finished bread products do not have too rough and hard crust.
Step 18
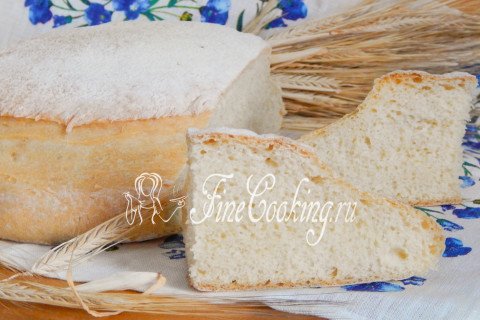
You can cut this fragrant and very tasty home bread no earlier than an hour later. But then you can fully enjoy it with a crunchy crust and a delightful crumb. Enjoy appetite, friends!